



E46 m3-style mirror adapter
Price range: 75.00€ through 85.00€
BMW E46 M3-Style Mirror Housings
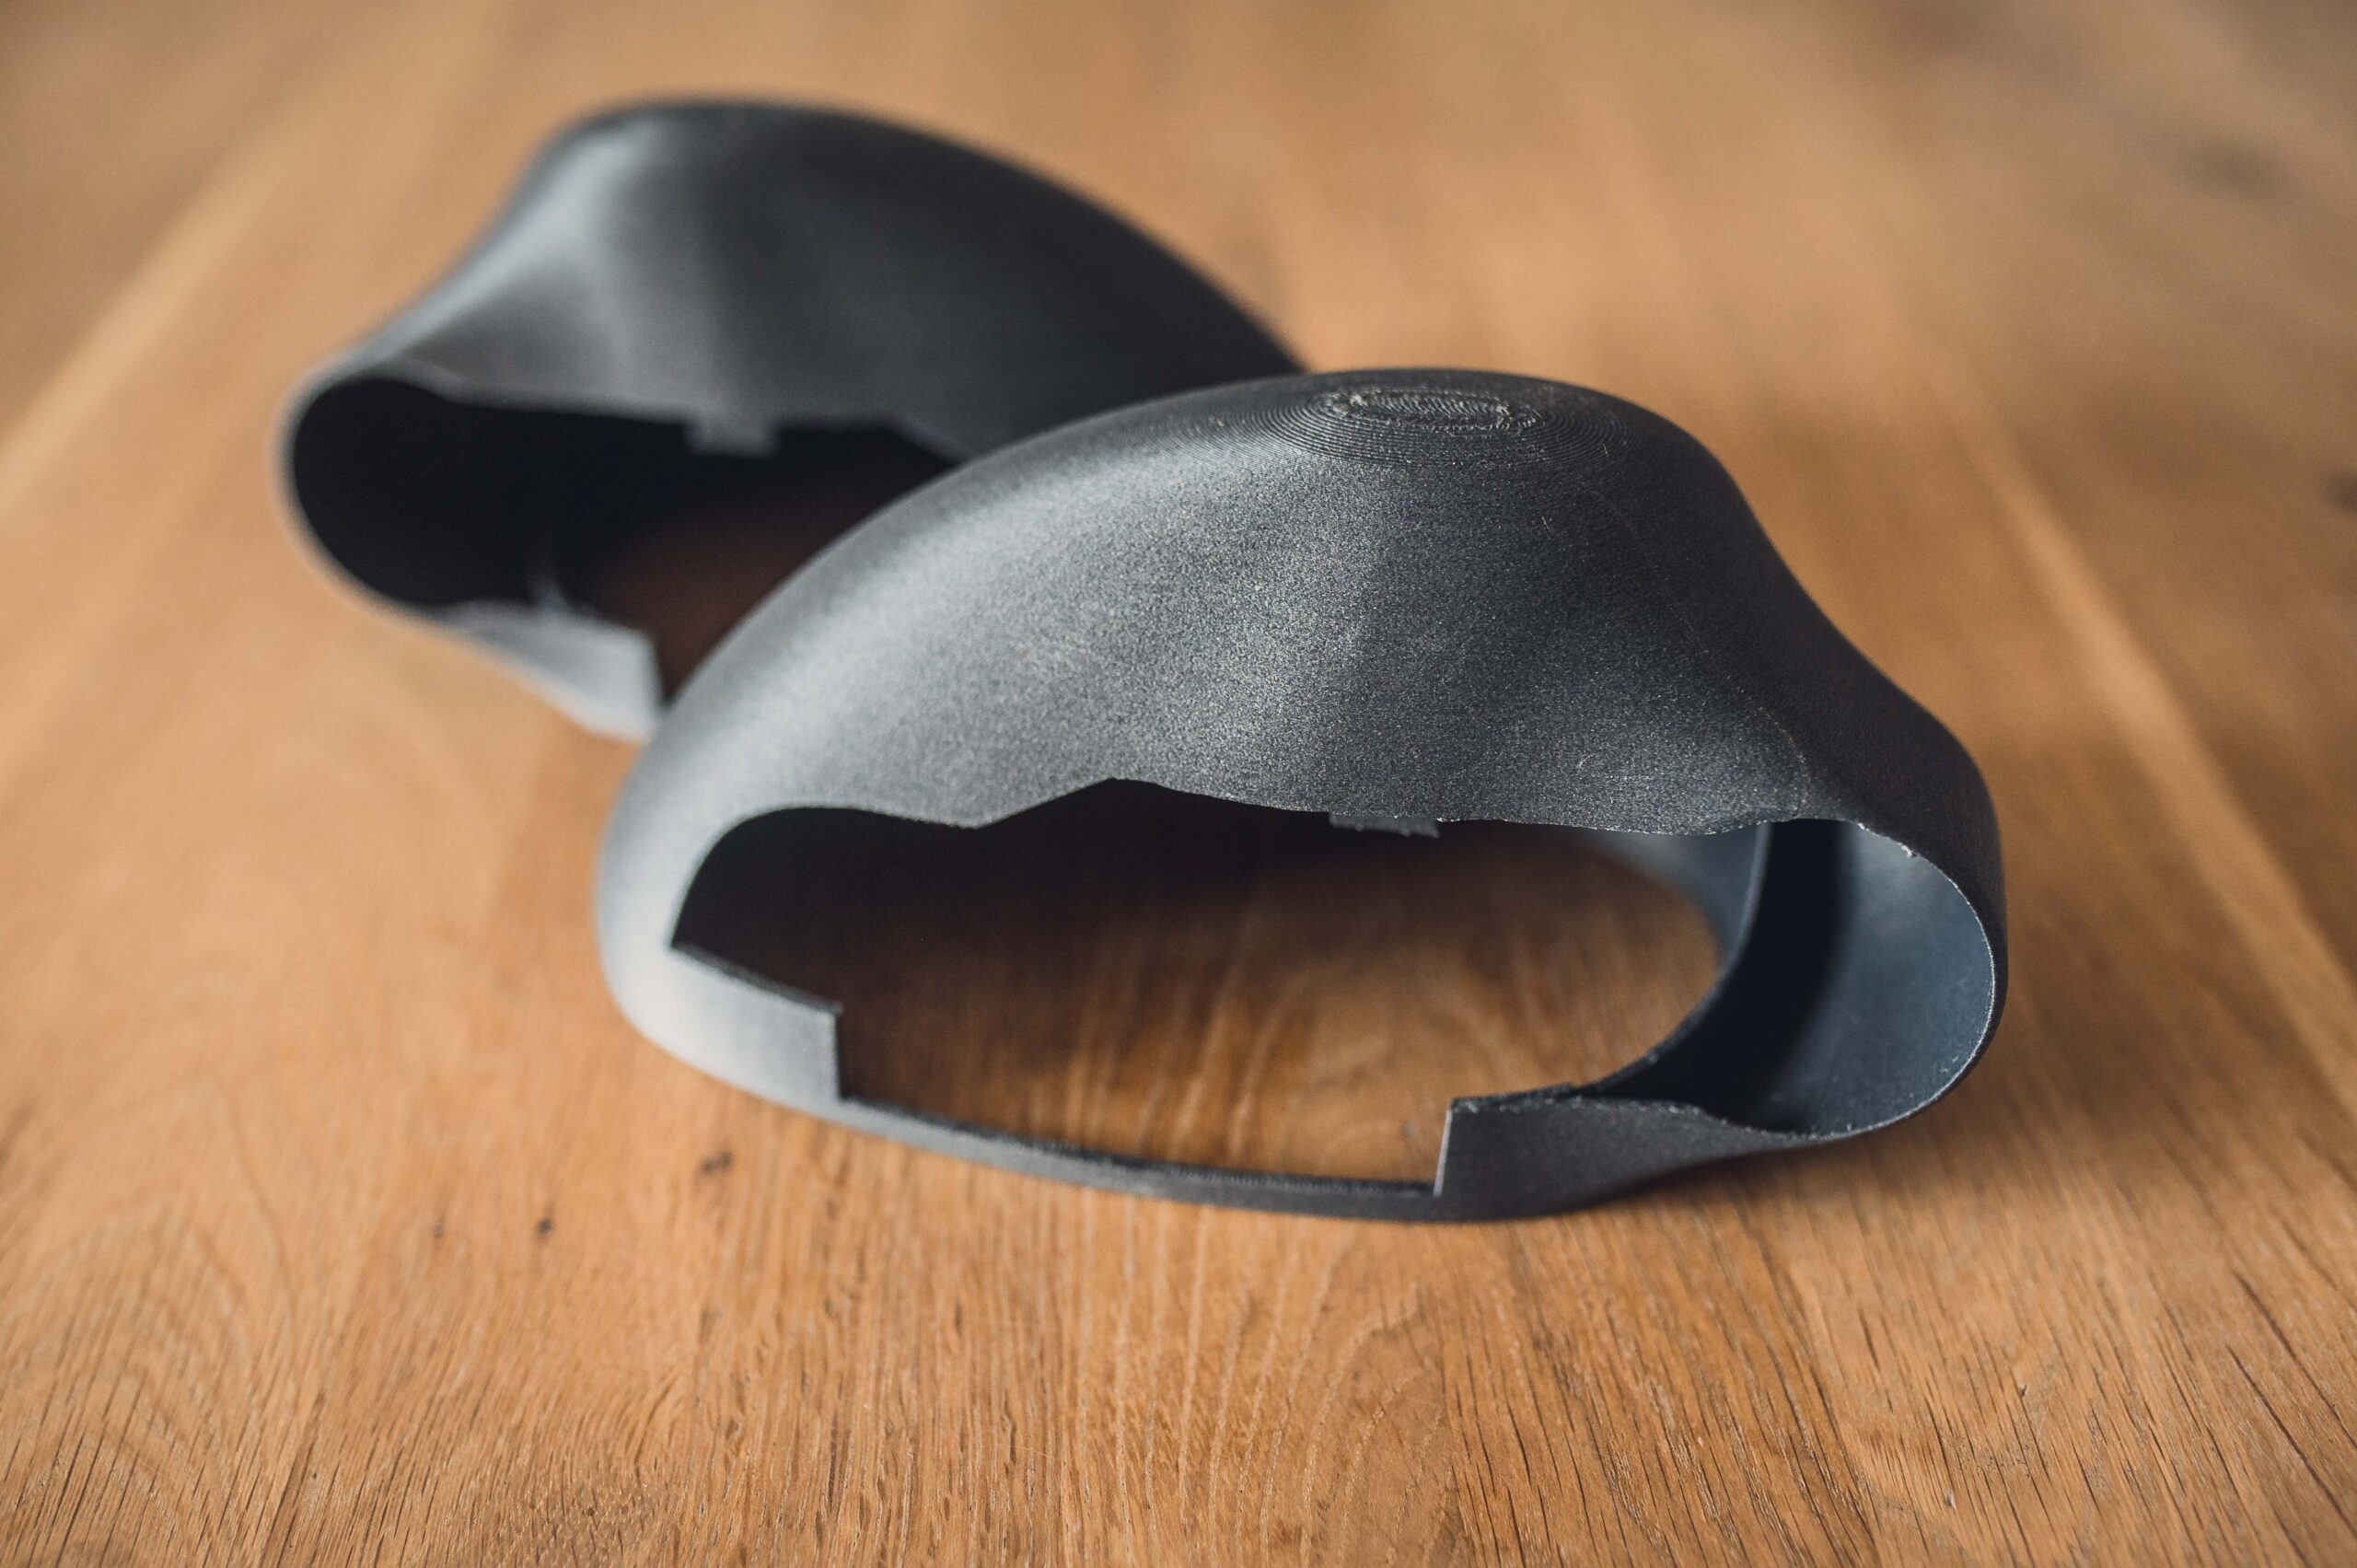
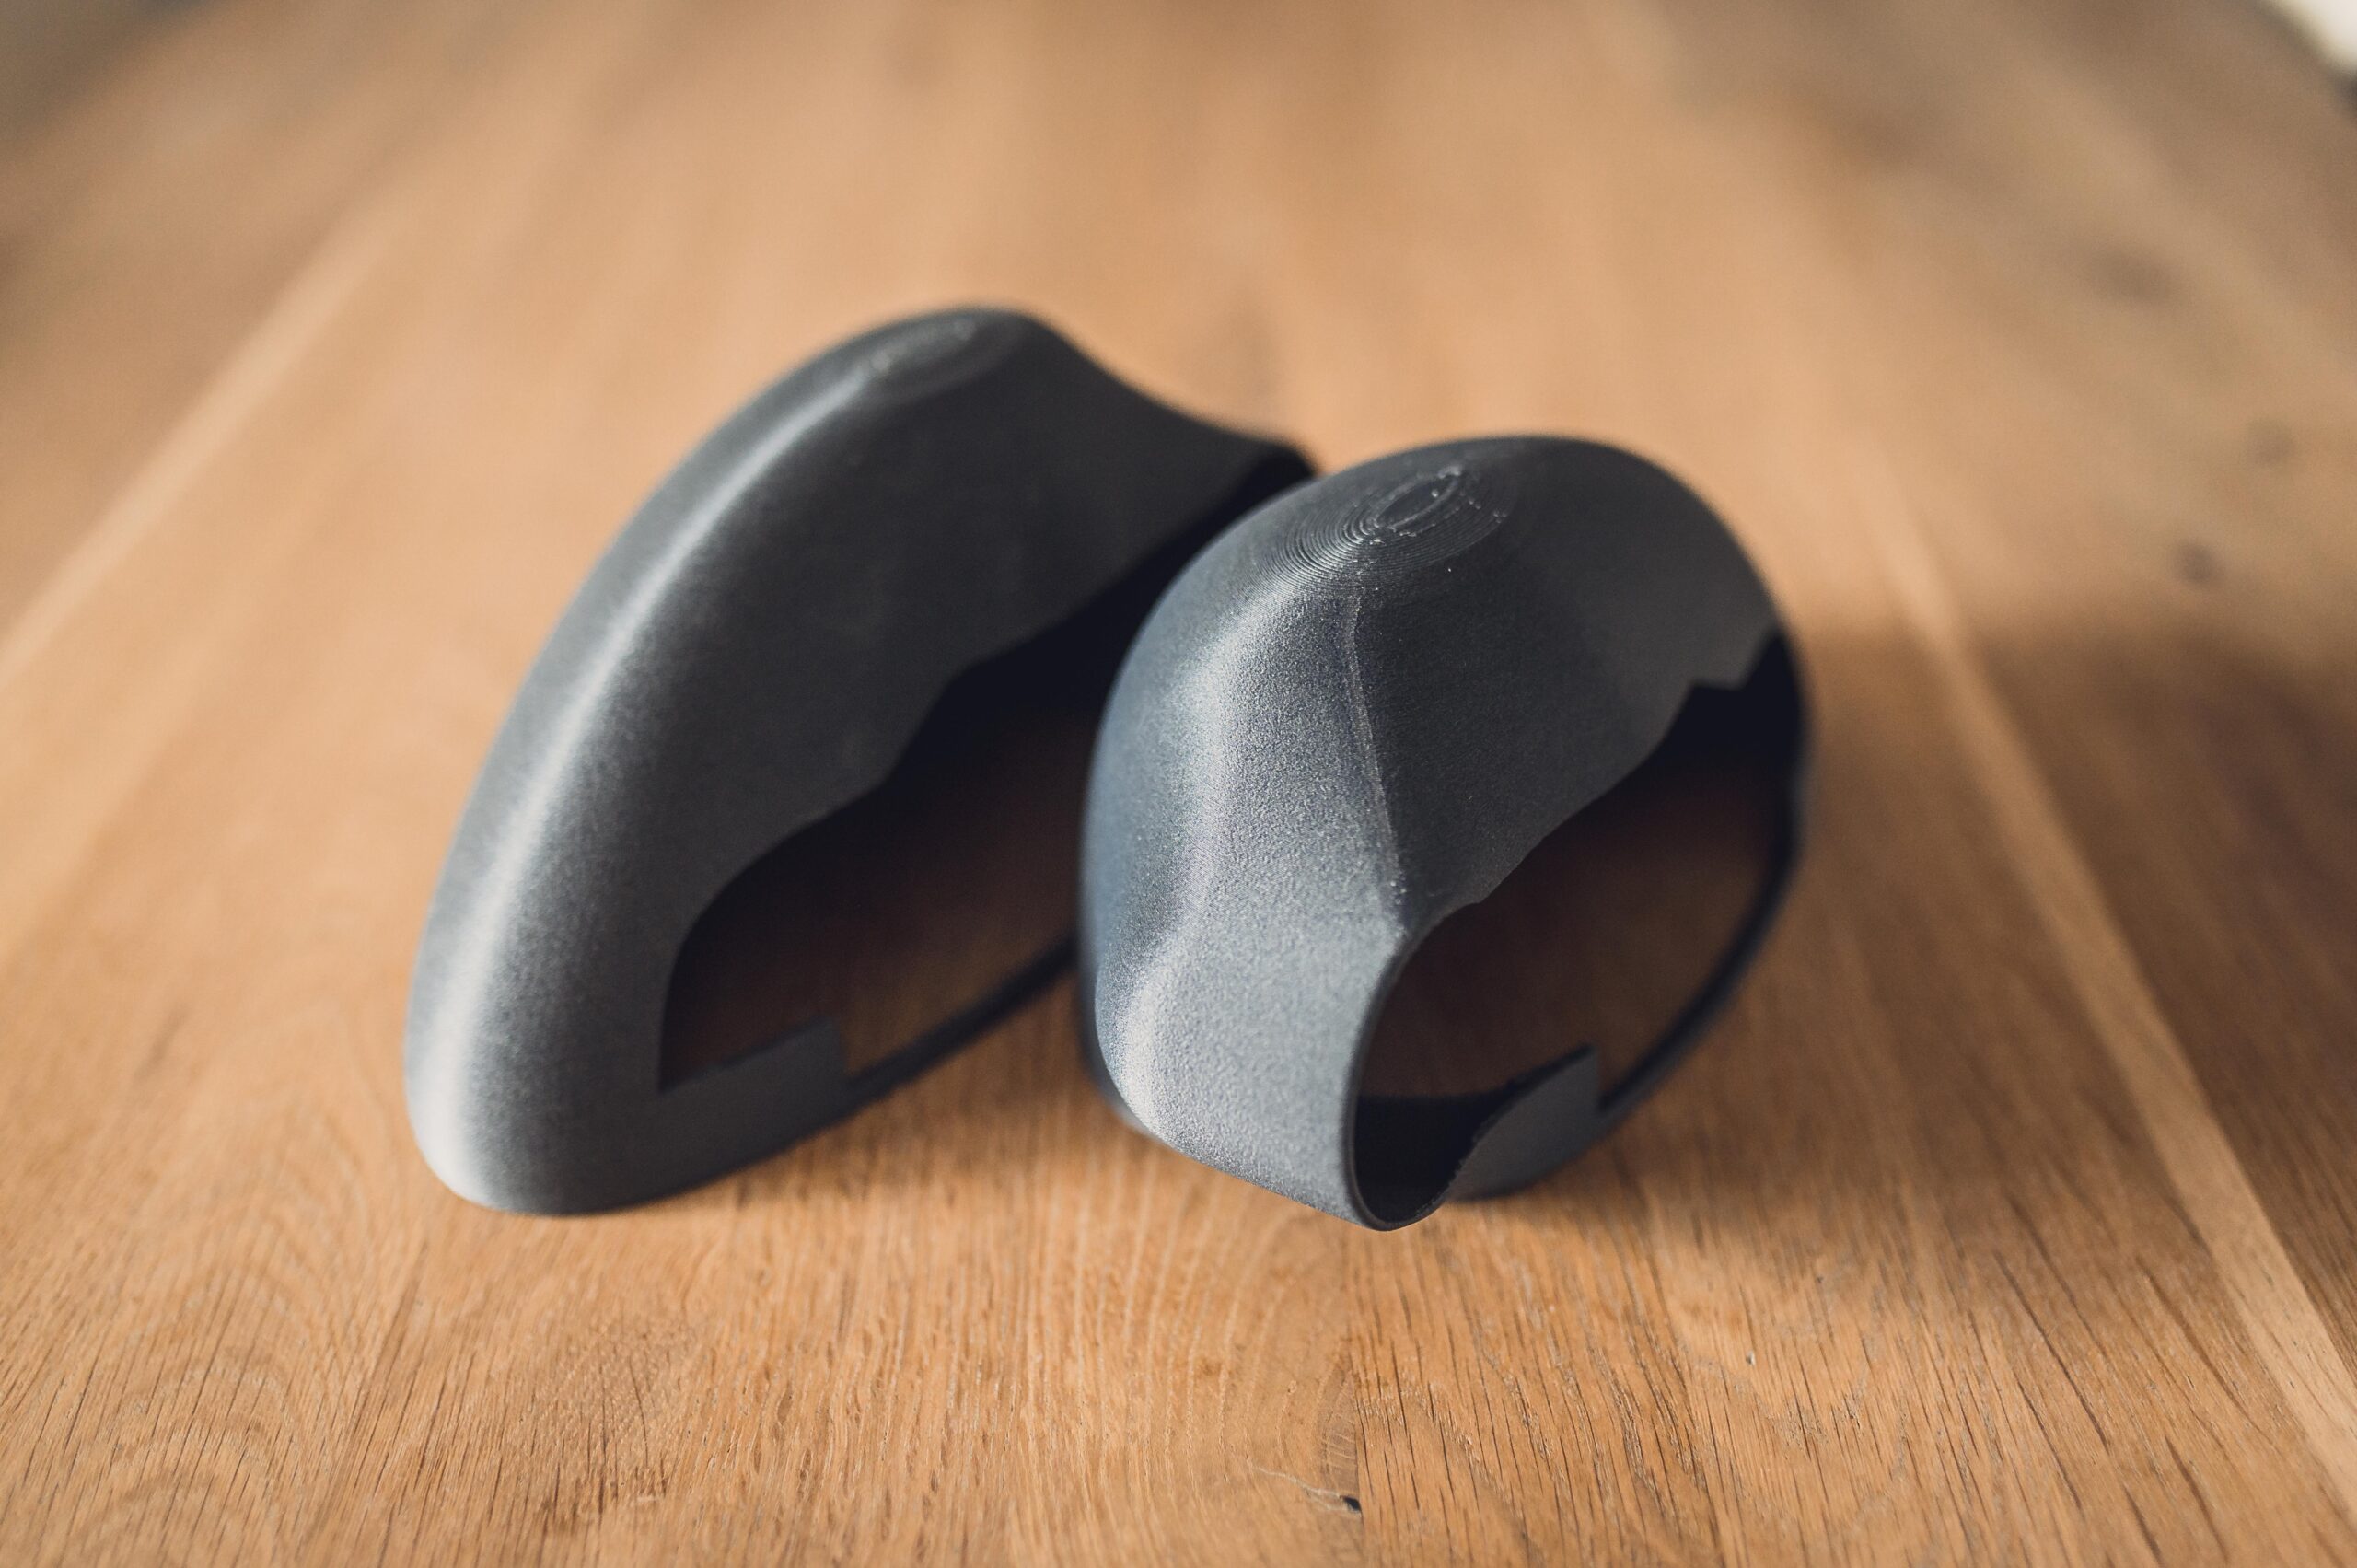
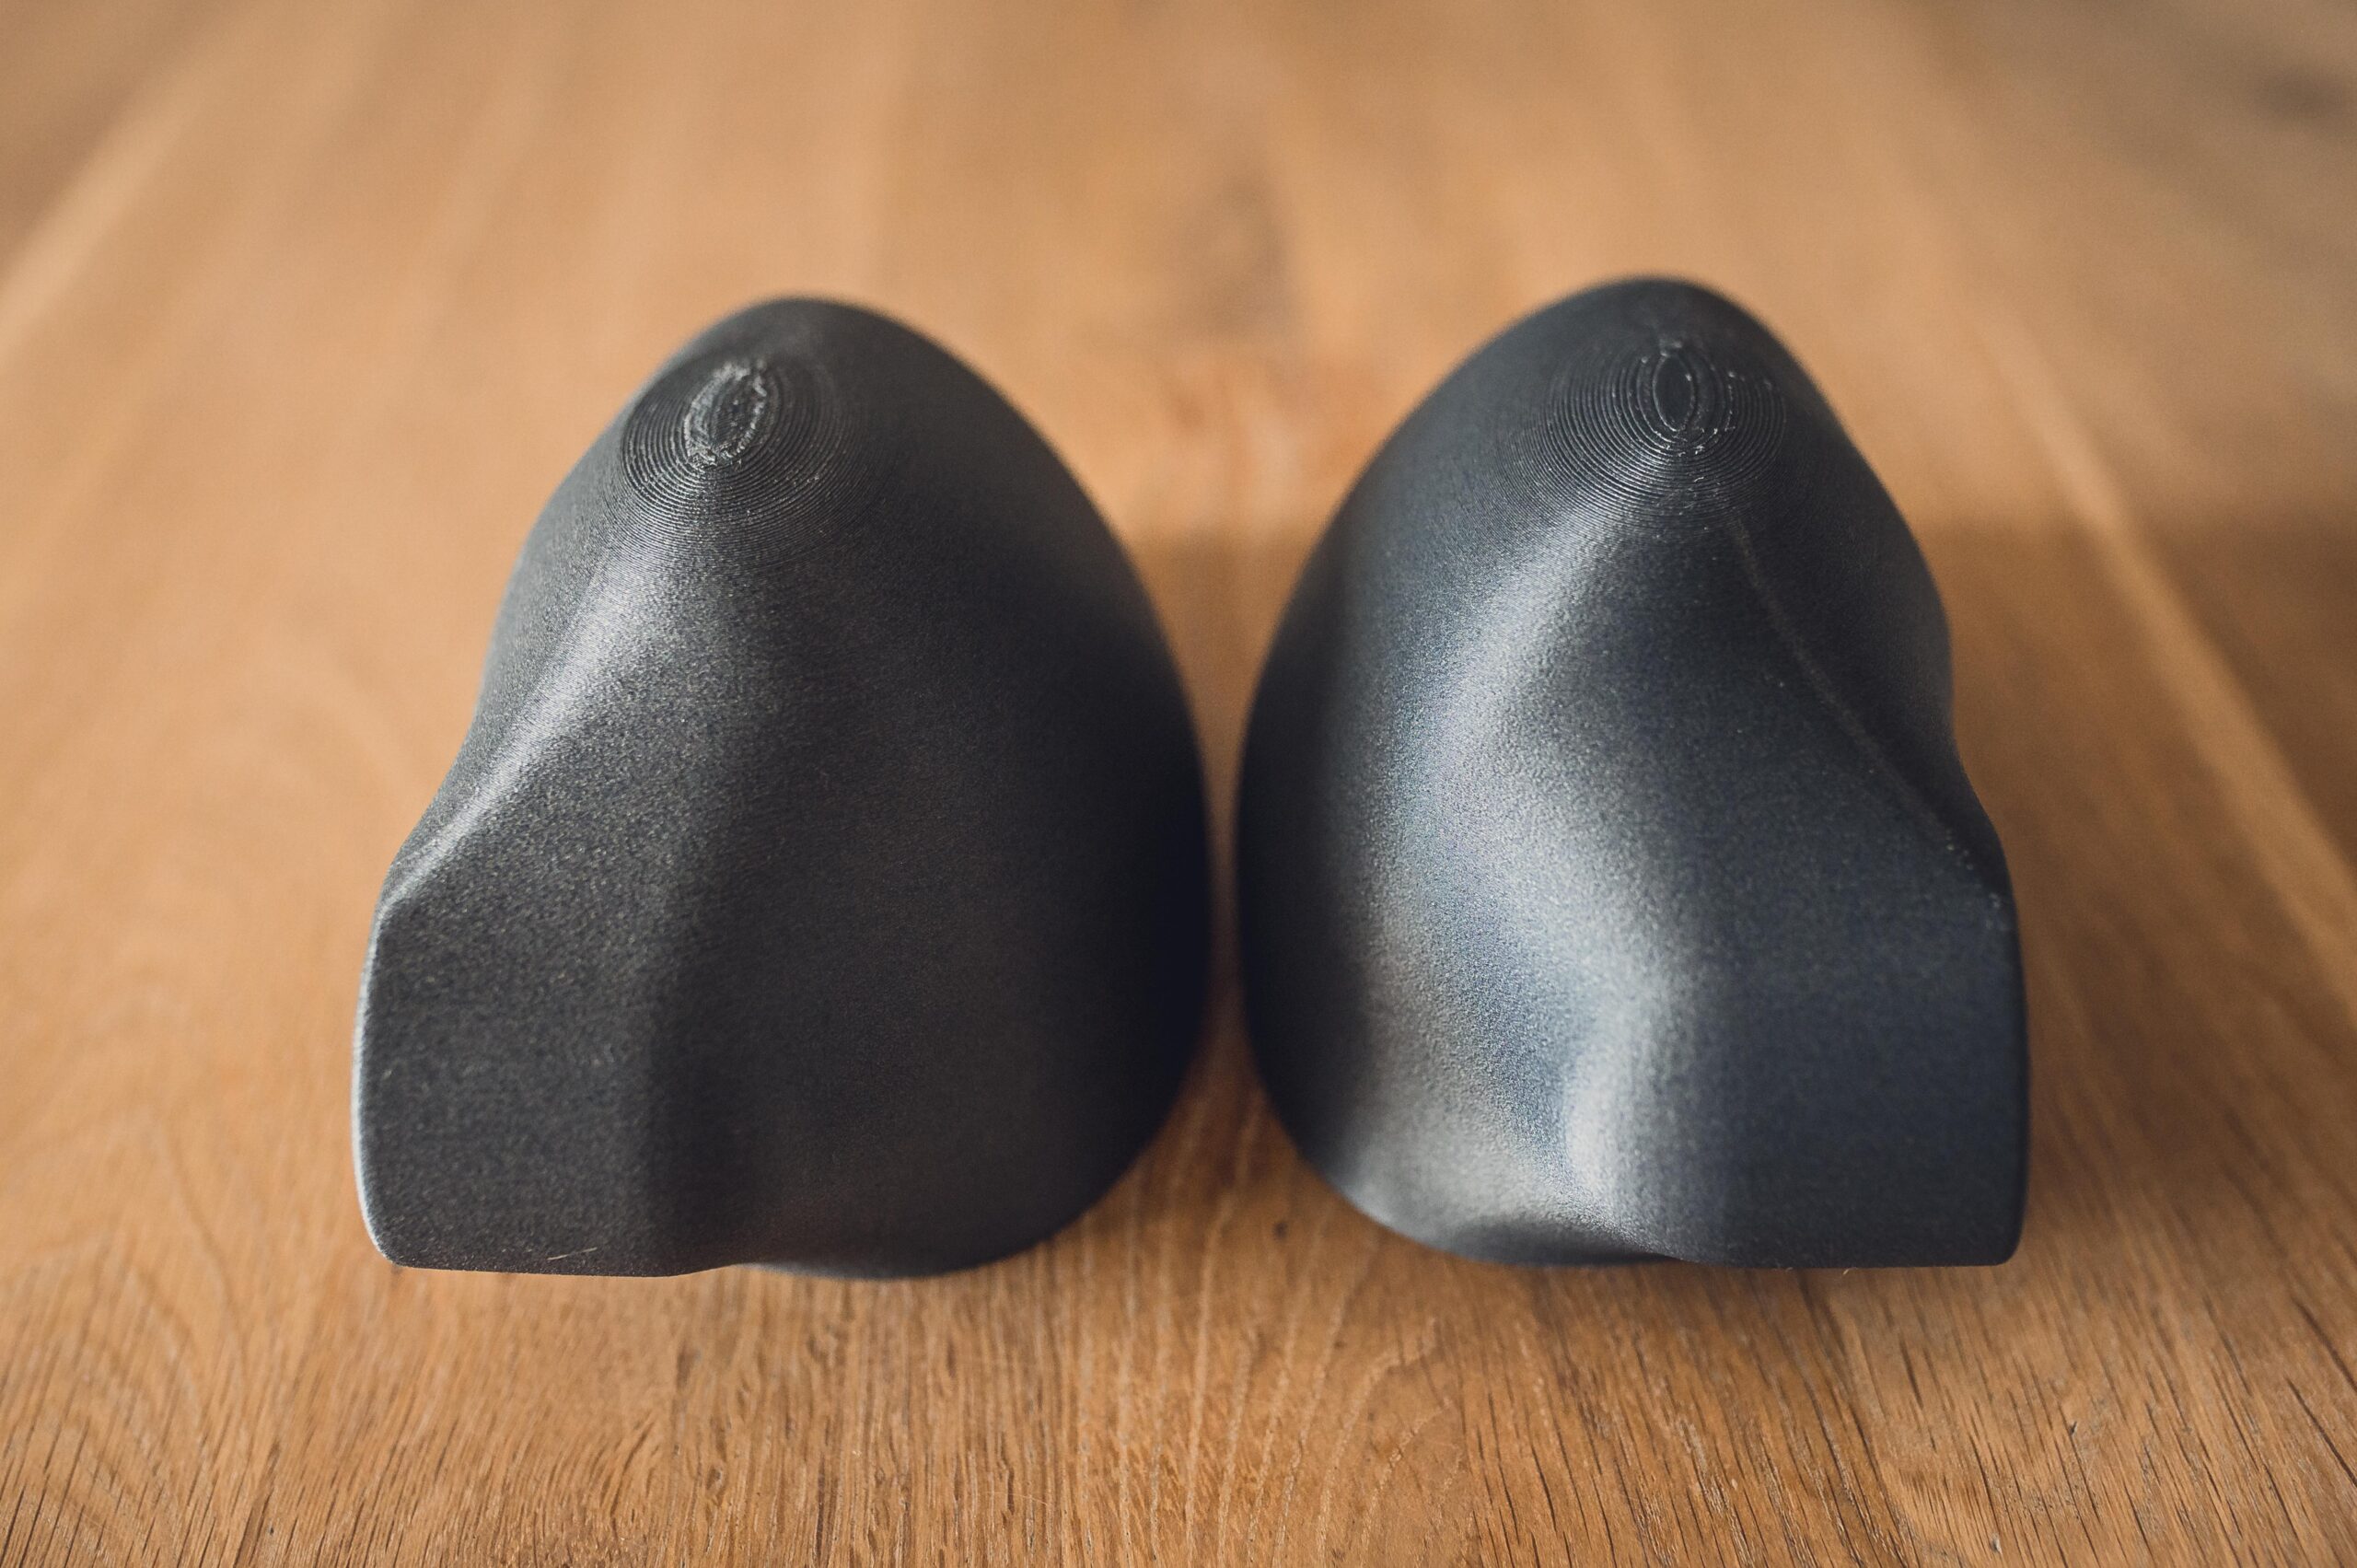
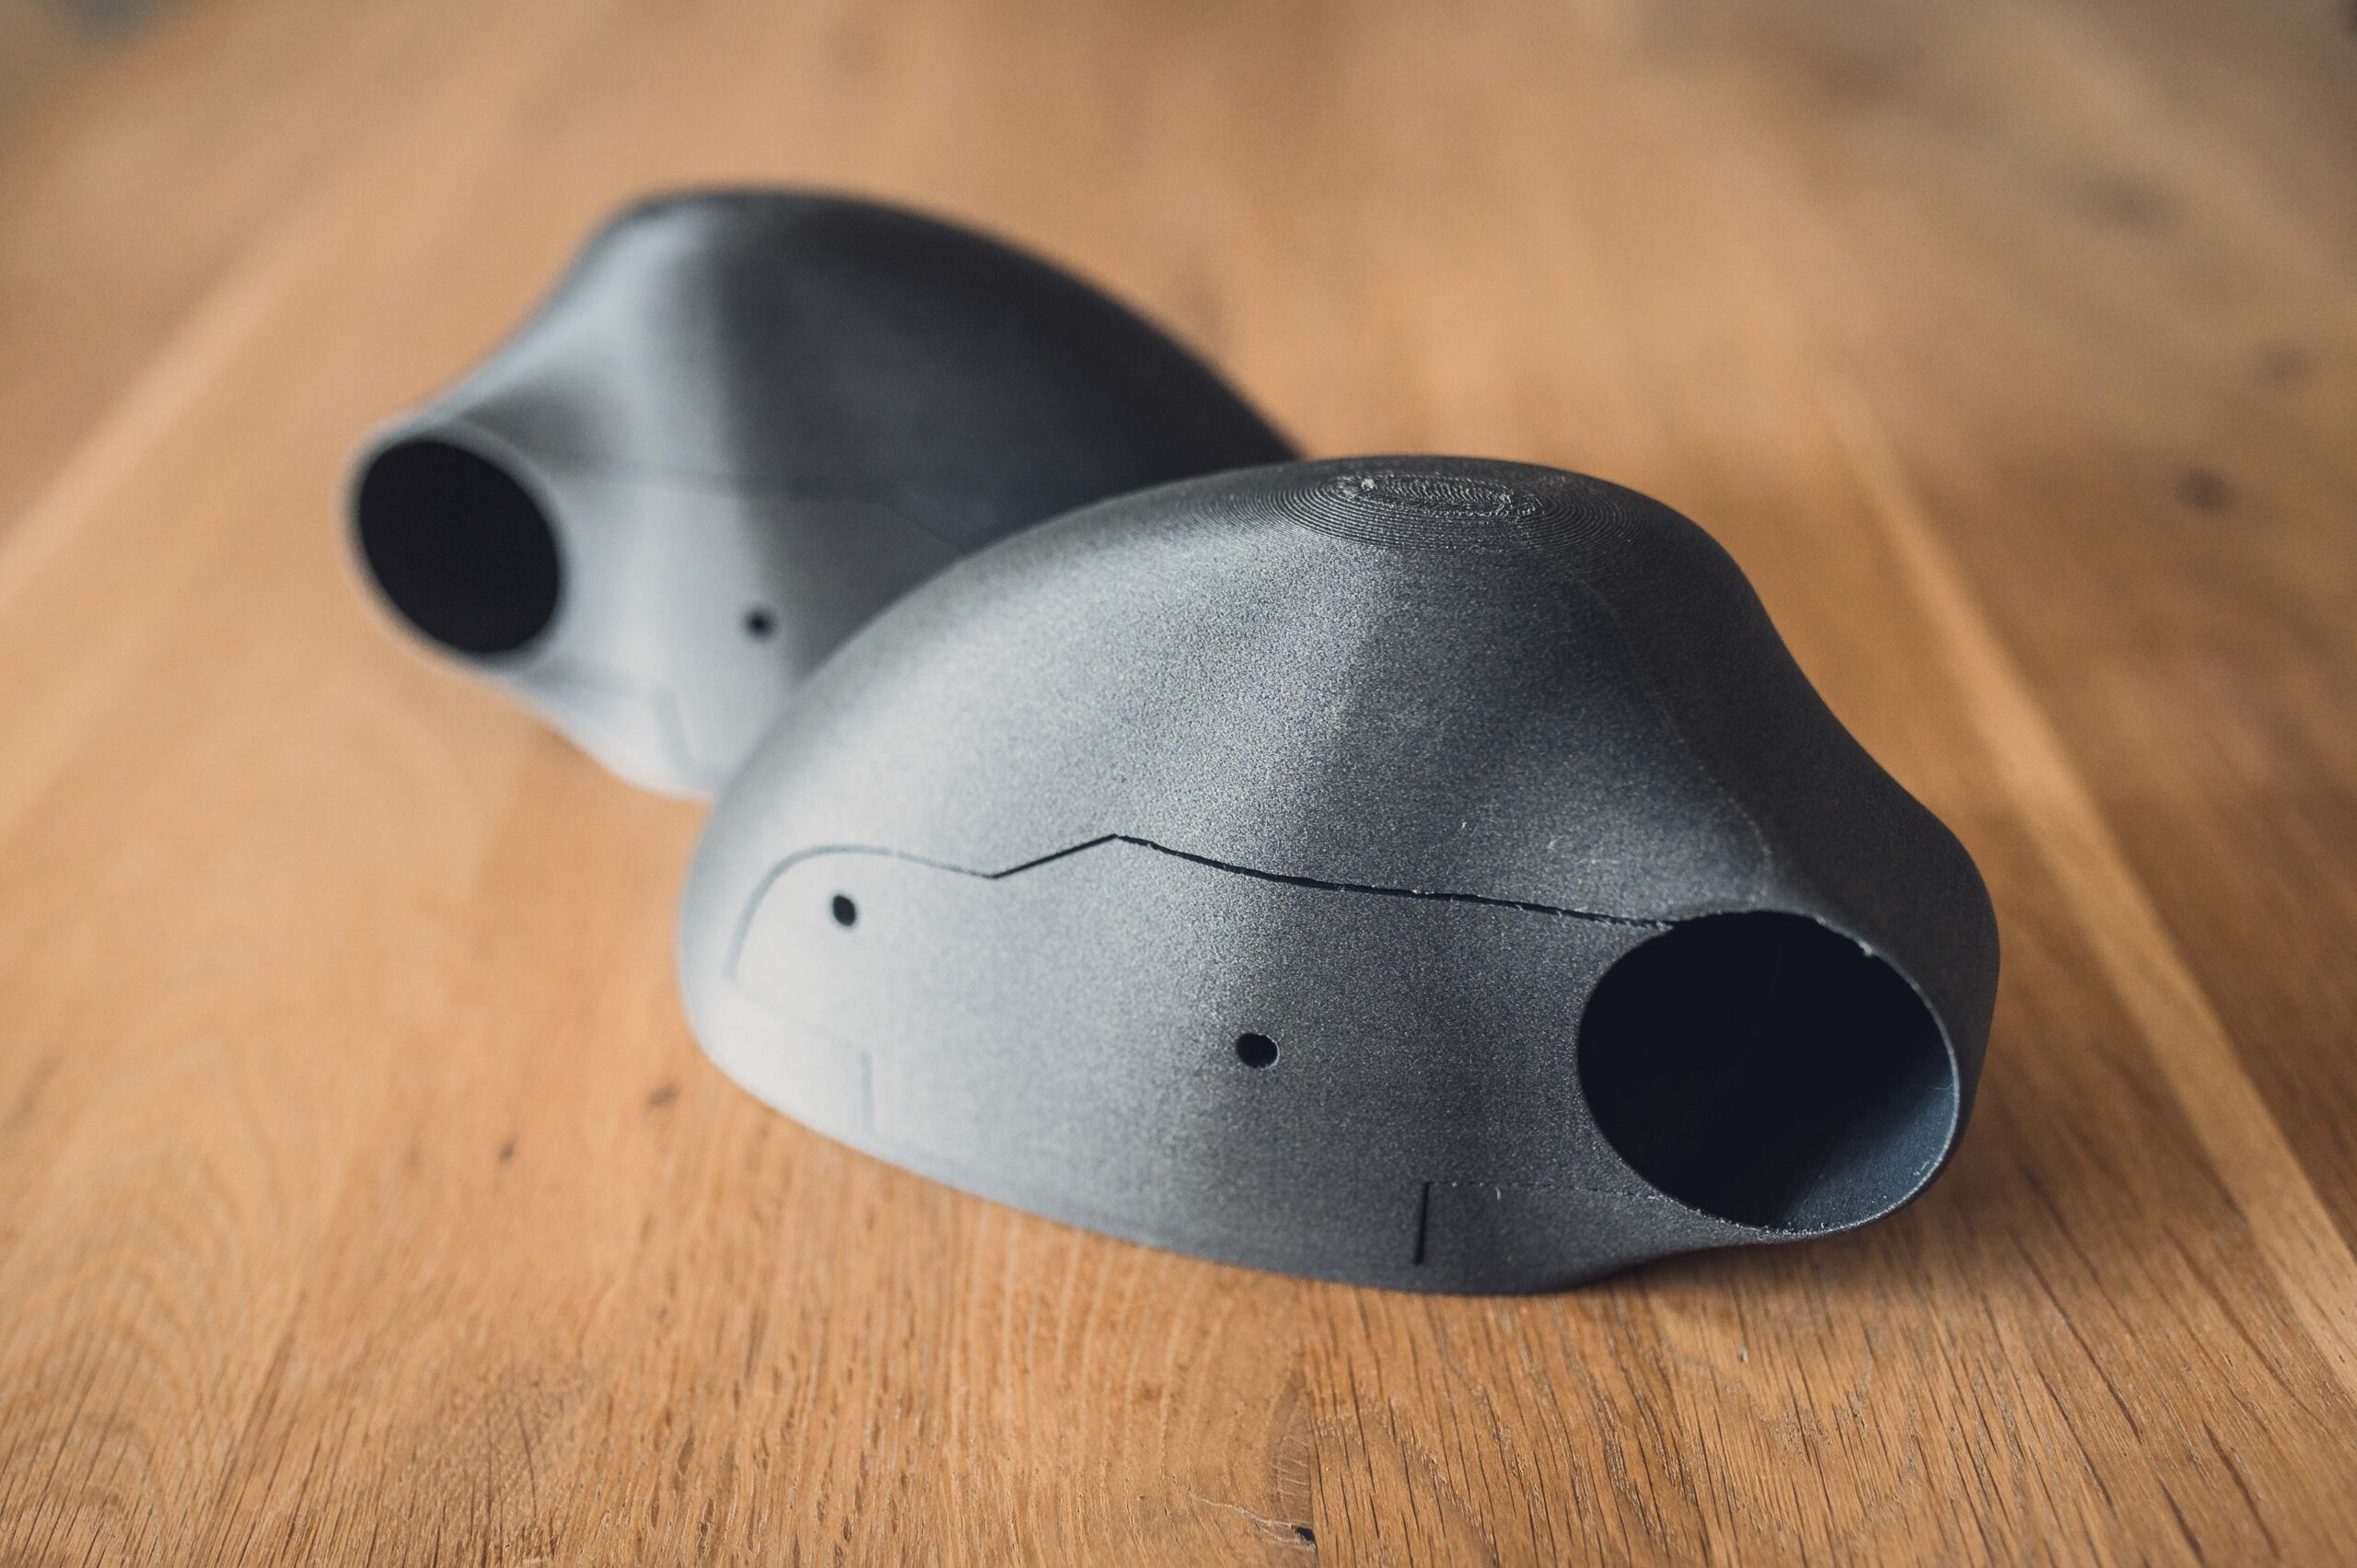
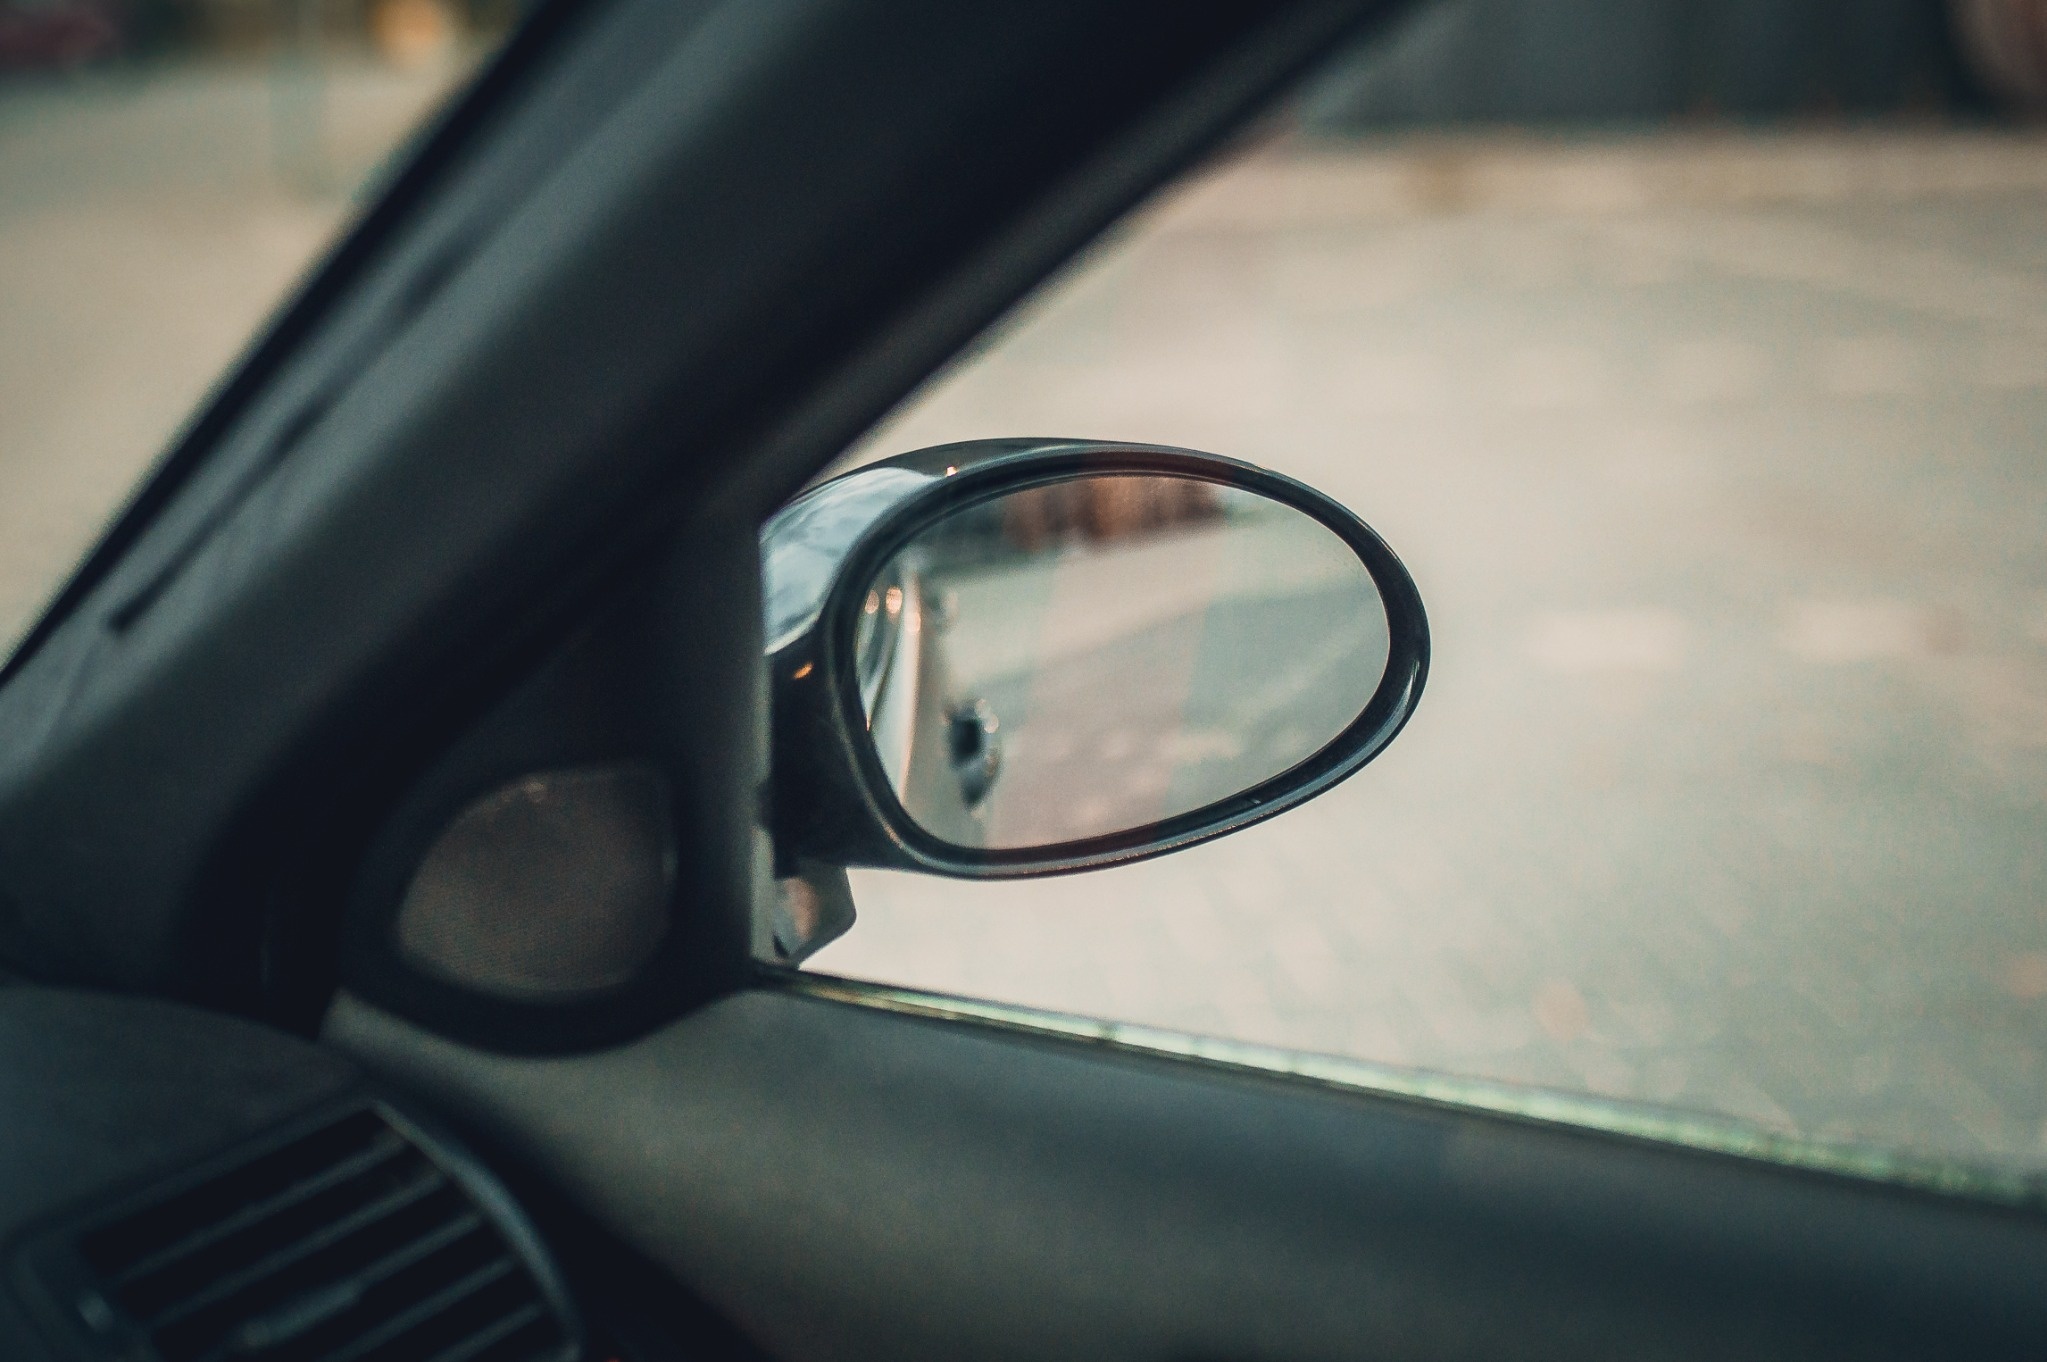
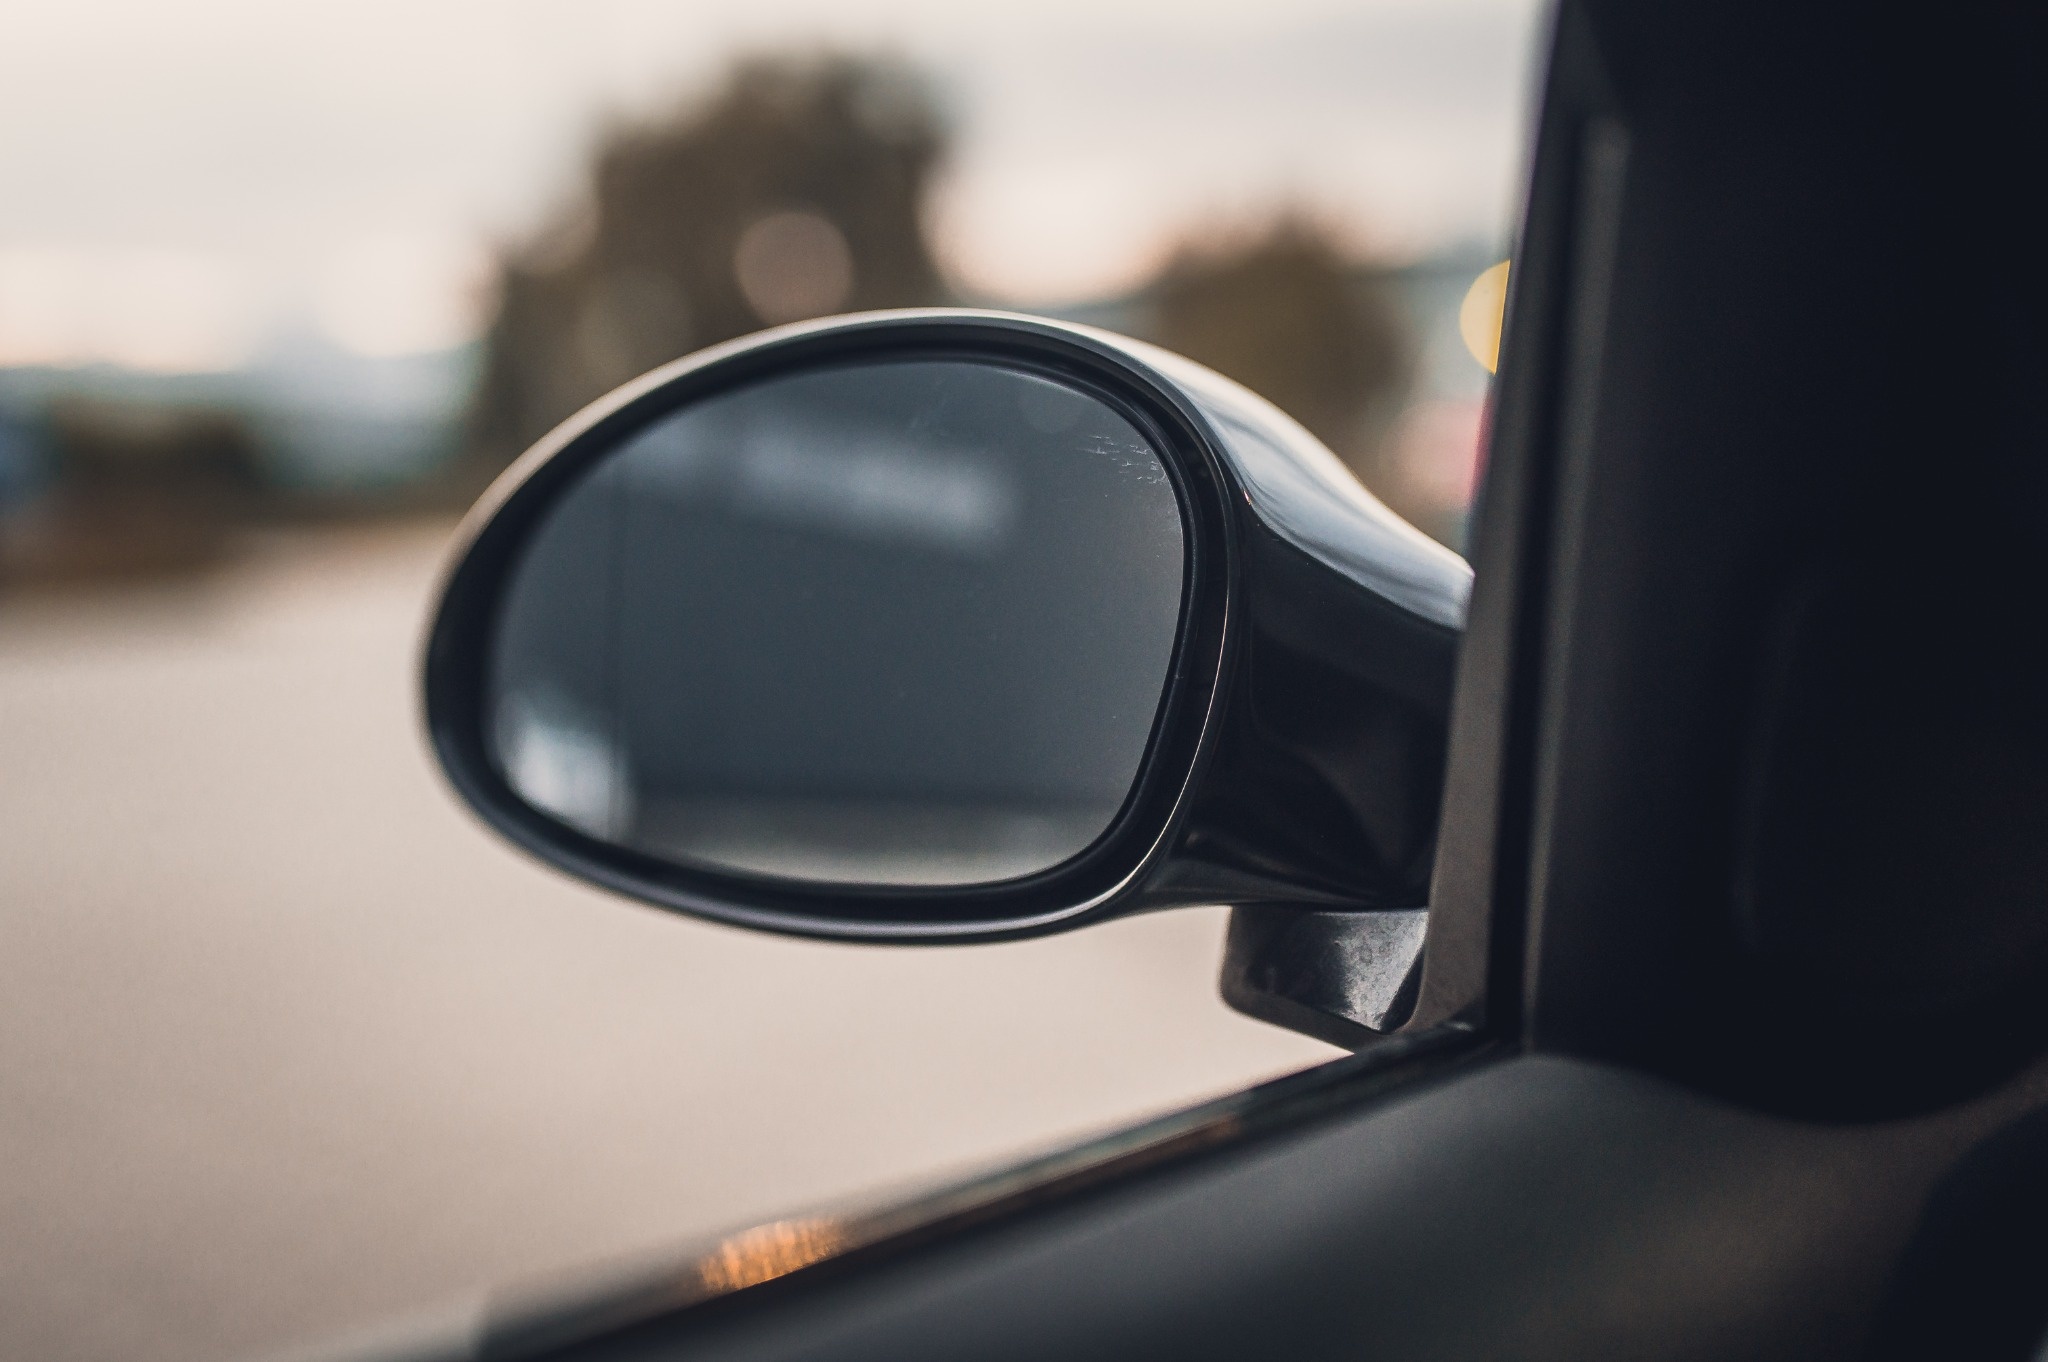
Custom M3-style mirror housings for BMW E46 Sedan, Touring and Compact, designed to give your car a more aggressive appearance while retaining the original mirror functionality.
The housings are designed for BMW E46 M3 or BMW E90 mirror glass and work with the original E46 mirror mechanism, including electric adjustment, heated glass and folding functionality, depending on the vehicle configuration.
Manufactured using ASA GF (glass-fiber-reinforced ASA) with FDM 3D printing technology. The material provides excellent mechanical strength, good temperature and UV resistance, making it suitable for exterior automotive use.
The kit includes:
- 2 × main mirror housings
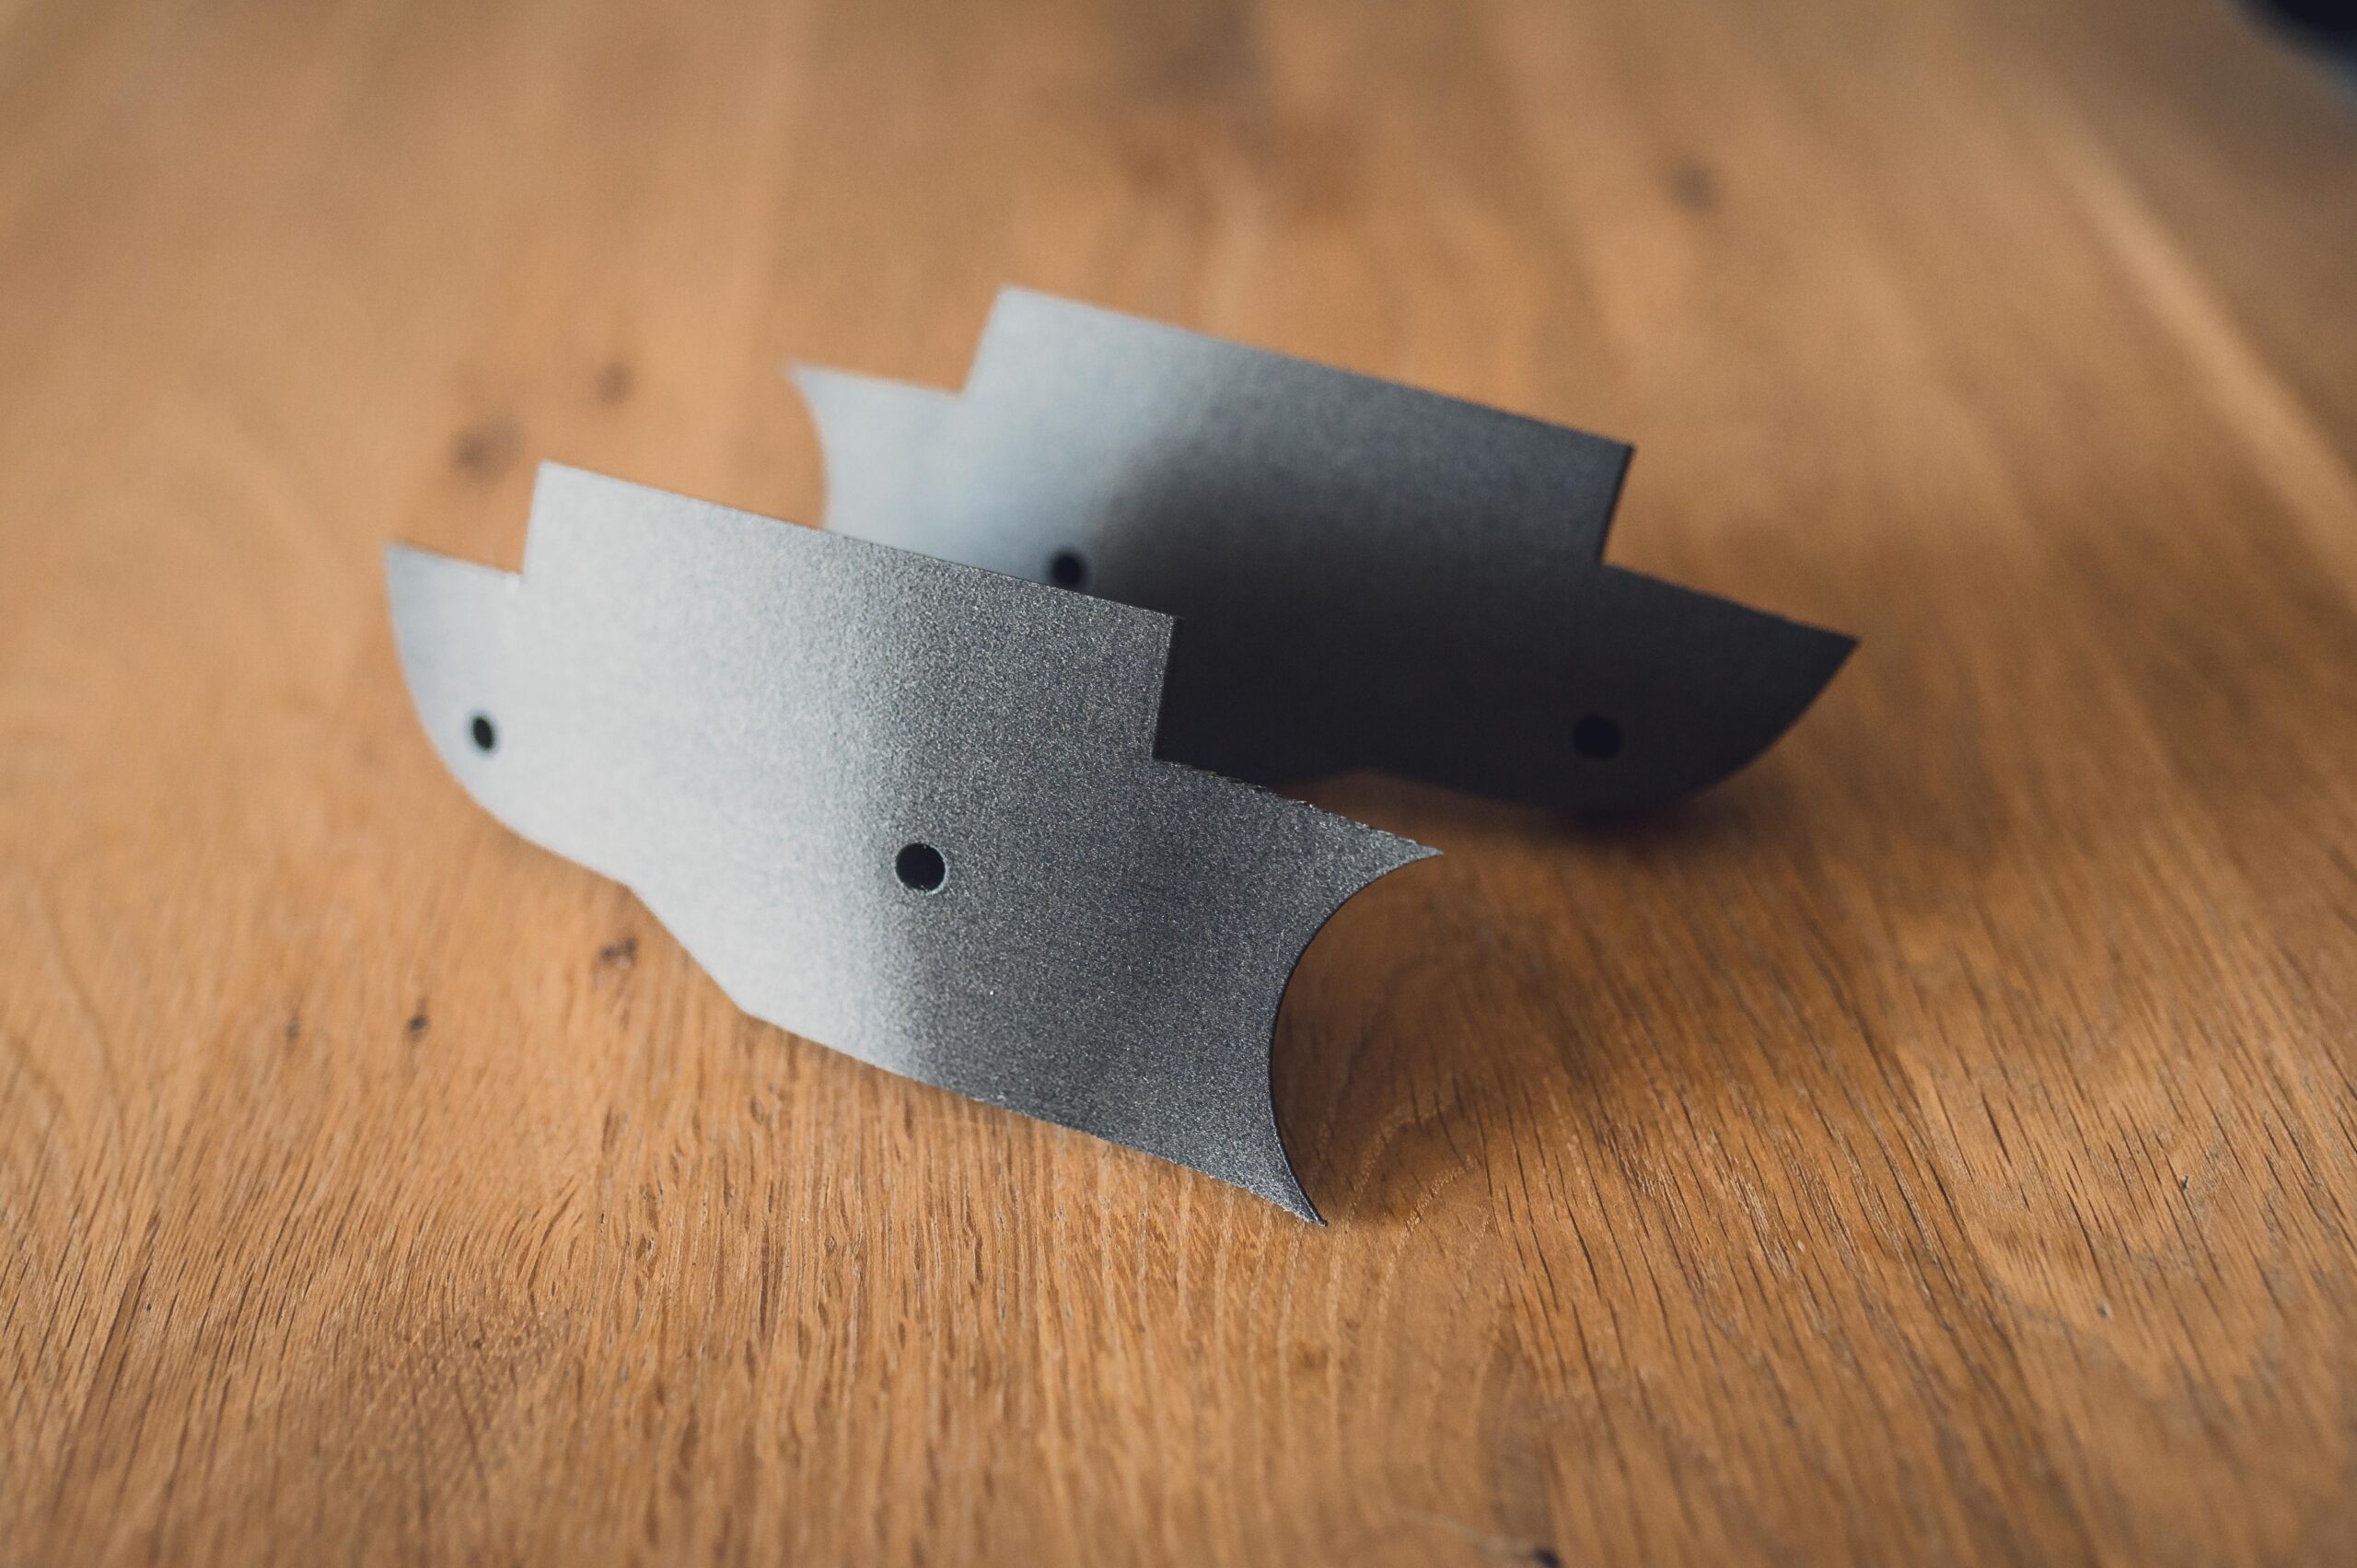
- 2 × lower covers
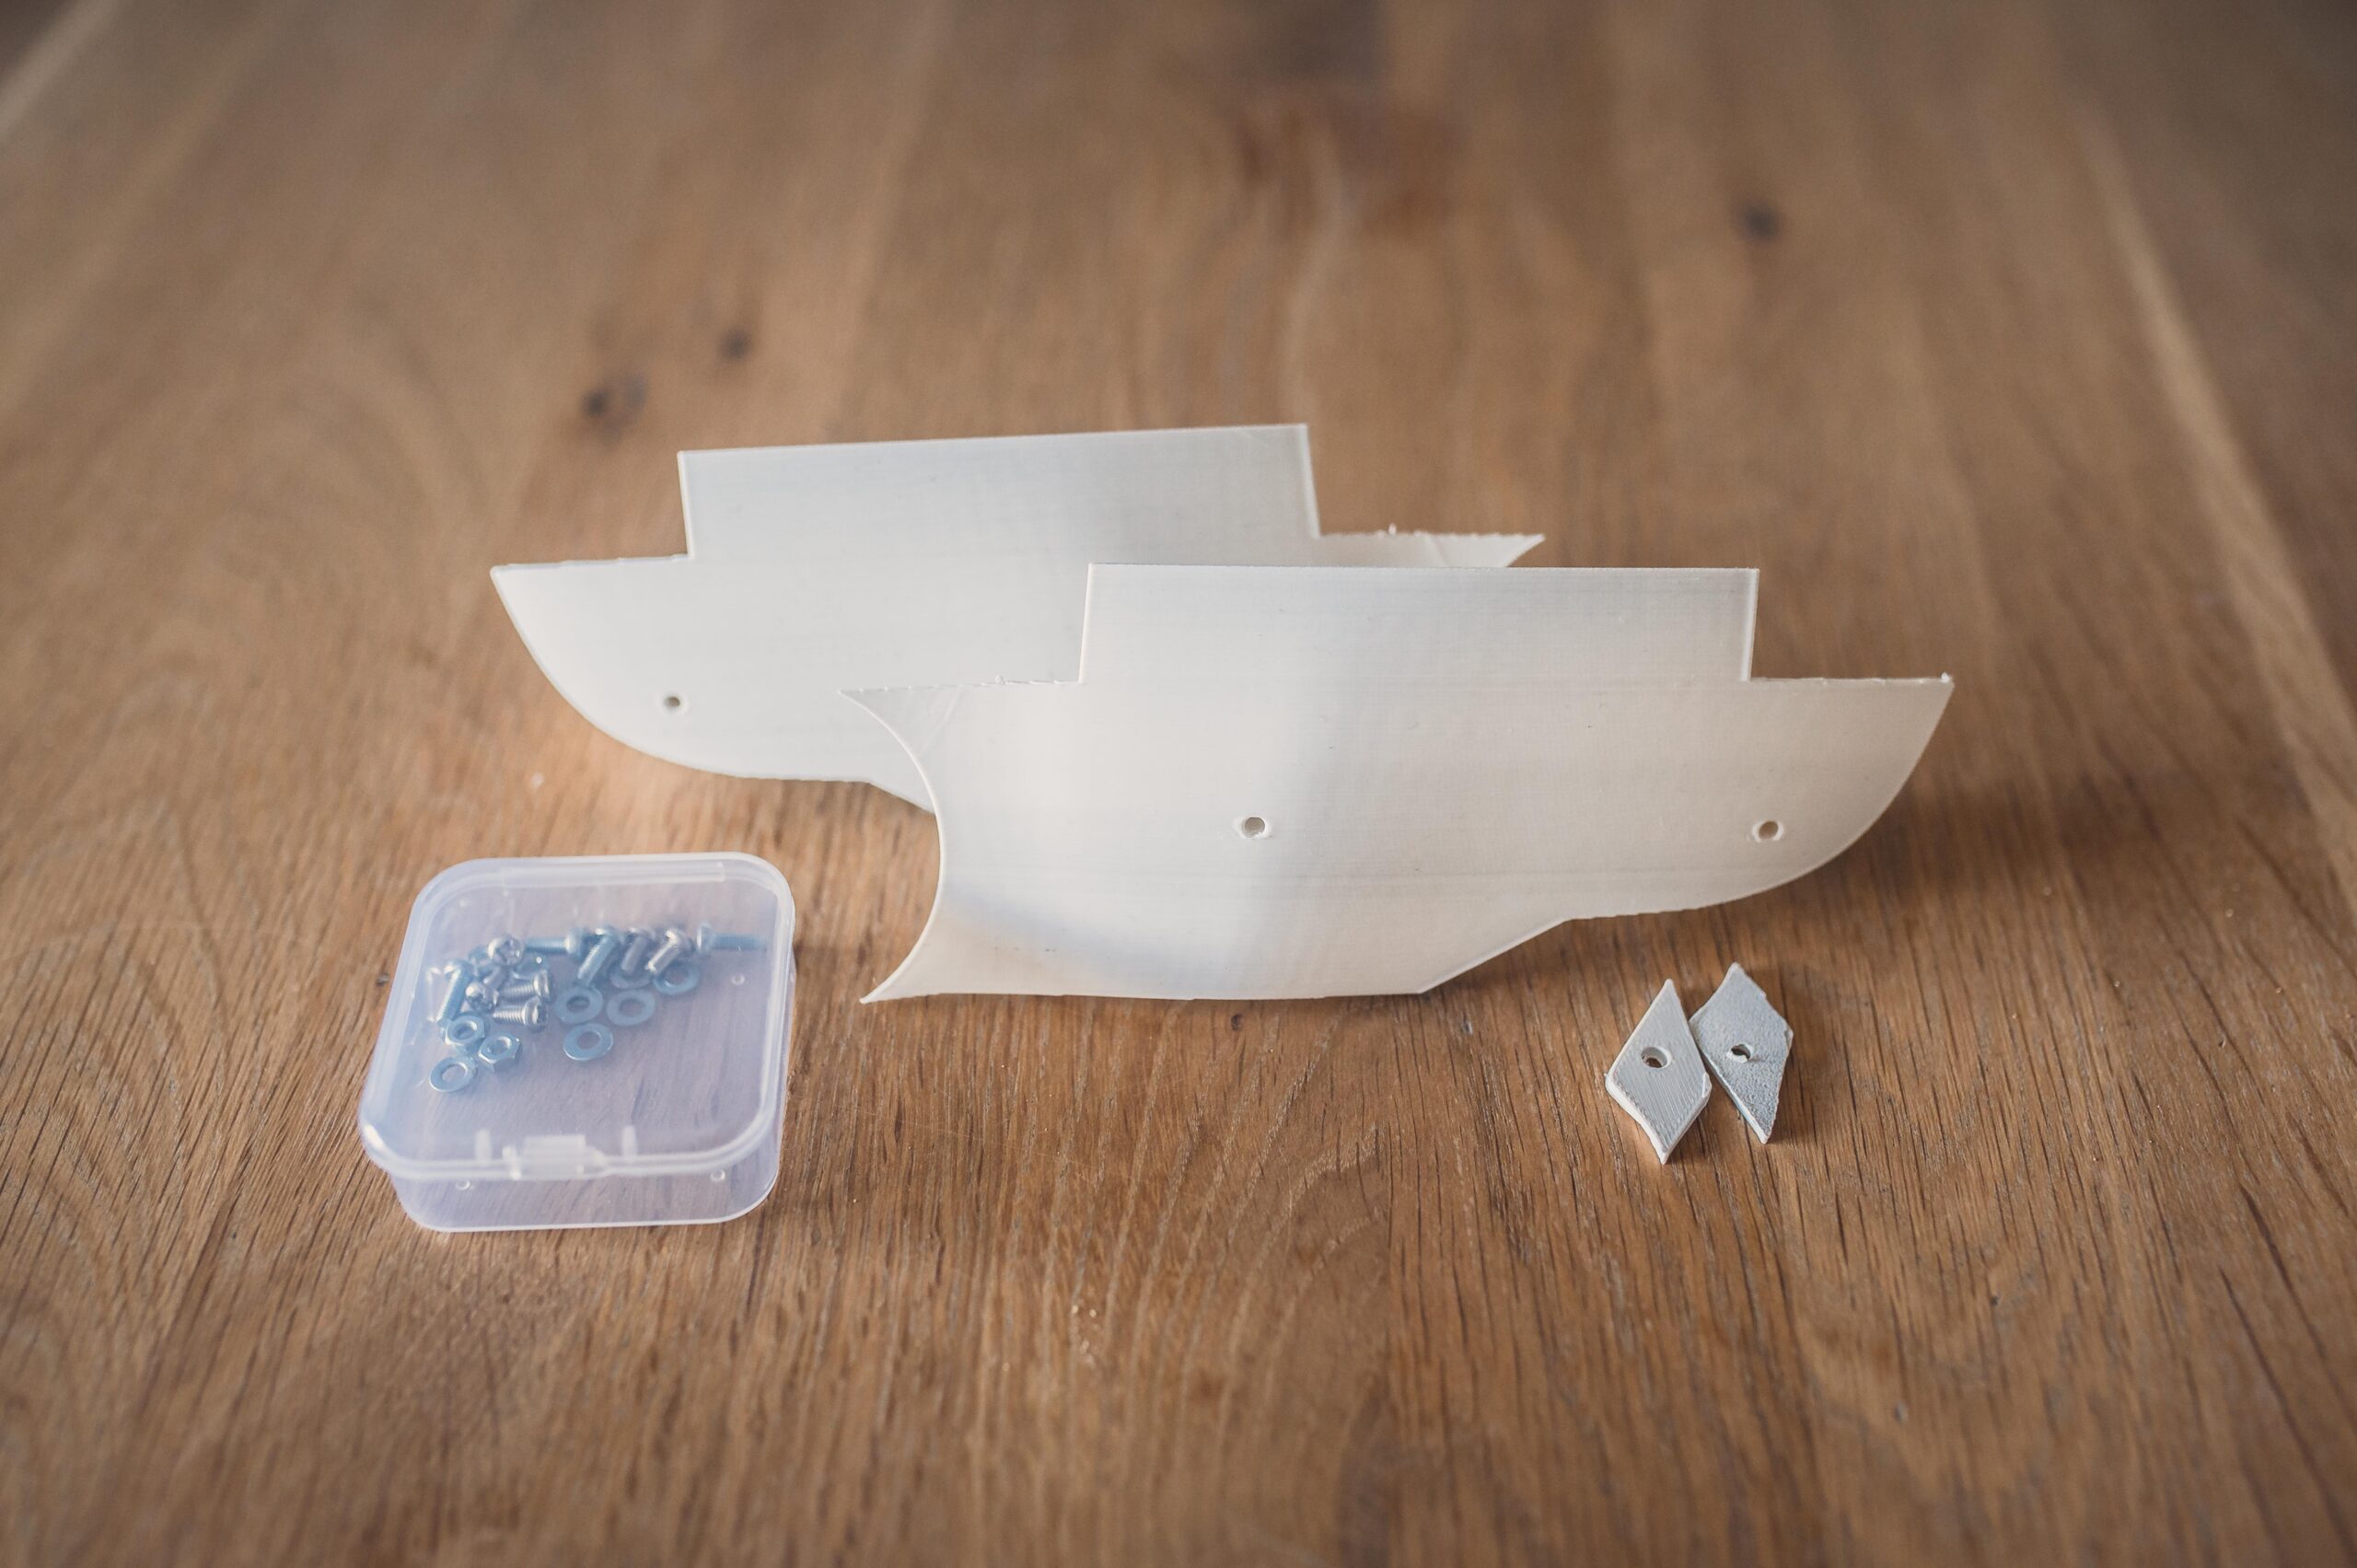
- Complete mounting hardware
- 2 × lower drilling adapters
- 2 × main housing drilling adapters
The housings are supplied raw and unpainted and require sanding, priming and painting before installation.
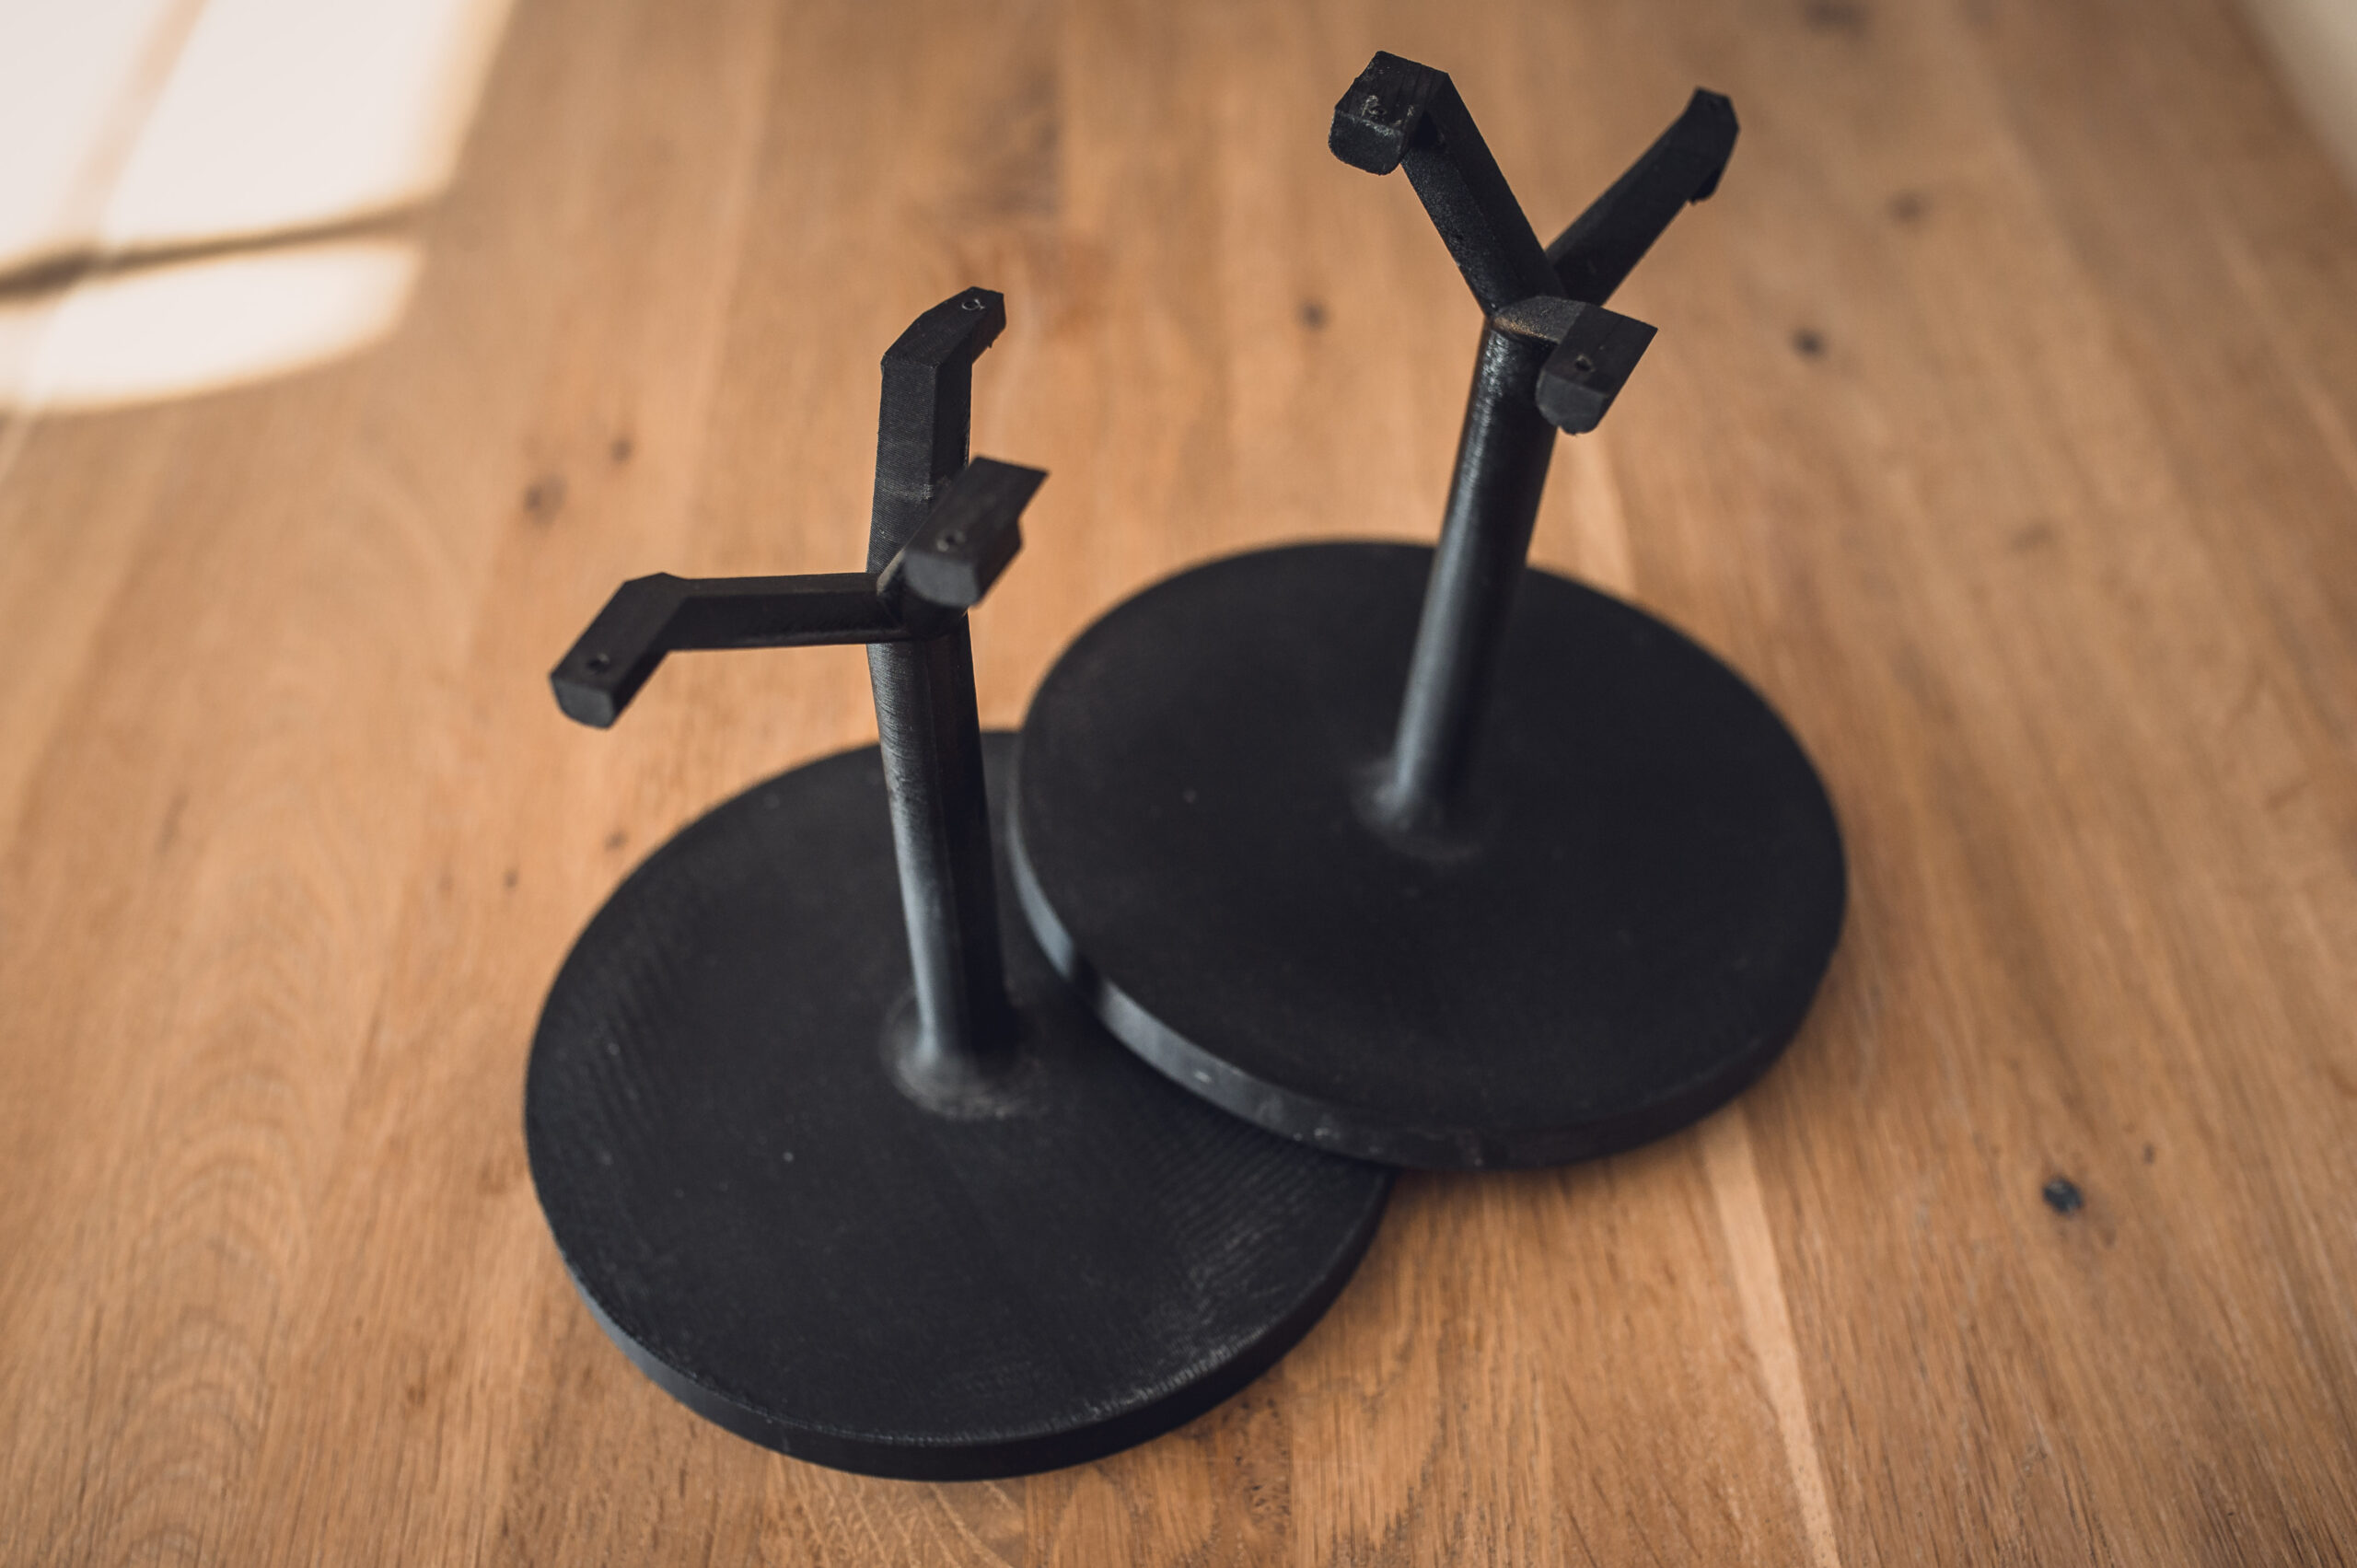
Optional left and right painting stands are available separately. They make sanding, priming and painting significantly easier by securely holding the housings during the finishing process.
Installation requires modification of the original aluminium mirror arms by cutting and drilling. The supplied drilling adapters make it easier to accurately position the required mounting holes.
Successfully tested on a 2002 BMW E46 Touring with the original manually folding mirrors.
- Satisfaction Guaranteed
- Secure Payments
Description
BMW E46 M3-Style Mirror Housing Adapters
For BMW E46 Sedan, Touring and Compact
Product Overview
These mirror housing adapters are designed specifically for the BMW E46 Sedan, Touring and Compact and allow you to install a custom M3-style mirror housing while retaining the original functionality of the factory E46 mirrors.
The adapters are designed to use mirror glass from the BMW E46 M3 or compatible glass from the BMW E90. The original mirror mechanism remains in place, allowing the finished mirror to retain its full electrical functionality.
The housings are supplied in a raw, unfinished state. They are manufactured using FDM 3D printing technology from ASA GF (glass-fiber-reinforced ASA).
Compatibility
- BMW E46 Sedan
- BMW E46 Touring
- Compatible with BMW E46 mirror mechanisms
- Designed for BMW E46 M3 or compatible BMW E90 mirror glass
- Compatible with electrically adjustable mirrors
- Compatible with heated mirror glass
- Compatible with electrically or manually folding mirror mechanisms, depending on the original vehicle configuration
The housings have been successfully installed and tested on a 2002 BMW E46 Touring equipped with the original manually folding mirrors.
Material & Manufacturing
The mirror housings are manufactured using ASA GF, a glass-fiber-reinforced version of ASA designed for applications requiring good mechanical strength, dimensional stability and resistance to environmental conditions.
The addition of glass fibers increases stiffness and resistance to deformation, making the material well suited for an exterior automotive component such as a mirror housing.
The material also provides good temperature resistance and UV resistance, making it suitable for long-term use in outdoor and automotive environments where the part can be exposed to sunlight, heat, cold and changing weather conditions.
Despite its mechanical strength, ASA GF is relatively easy to process after printing. The printed surface leaves only minimal visible layer lines compared with many other FDM materials, which significantly reduces the amount of surface preparation required before painting.
The housings are supplied raw and unpainted, allowing the customer to finish them according to their preferred colour and surface finish.
Surface Preparation & Painting
Before painting, the printed housing should be properly prepared. The exact amount of work required depends on the desired final finish, but approximately 2 hours of preparation per housing should be expected for a high-quality painted result.
A recommended finishing process is:
1. Initial sanding
Lightly sand the printed surface to remove any remaining imperfections and prepare the surface for primer.
2. Plastic adhesion primer
Apply a suitable plastic adhesion primer to improve adhesion between the plastic surface and subsequent coating layers.
3. Filler primer
Apply a filler primer to level out small surface imperfections and any remaining print texture.
After the filler primer has cured, sand the surface progressively until the desired smoothness is achieved. Additional filler primer can be applied if necessary.
4. Final colour
Once the surface is completely smooth and properly prepared, apply the desired automotive colour coat.
For the best result, the final paint system should be compatible with the primers used underneath.
Installation
The installation requires removing the original mirror housing and mirror glass. The original mirror mechanism and aluminium mirror arm are then modified to accommodate the new housing.
The installation itself is relatively straightforward, but it requires basic workshop tools and some modification of the original mirror arm.
Required tools
- Angle grinder / rotary cutting tool (flex) for cutting selected sections of the original mirror arm
- Drill
- Suitable drill bits
- Basic hand tools
- Sandpaper / deburring tools
- M3 spanners or hex keys, depending on the selected hardware
- Thread-locking compound is recommended
The original mirror arm is made from aluminium, so cutting and drilling it is relatively easy. The required modifications do not require specialist machining equipment.
Drilling Templates Included
To make the installation easier and ensure that the mounting holes are positioned correctly, the kit includes dedicated drilling templates/adapters.
Lower mounting holes
The customer receives dedicated small drilling adapters that are designed to be positioned on the original mirror arm.
These adapters contain precisely positioned holes that serve as guides for the drill bit. Simply position the adapter in the correct location and drill through the guide hole to create the mounting hole in the aluminium mirror arm.
This makes it much easier to achieve the correct position of the two lower mounting holes without having to measure and mark their location manually.
Main housing mounting hole
The kit also includes small dedicated drilling adapters for the mounting point of the main mirror housing.
These adapters are used as drilling guides to help create the required hole in the original mirror arm at the correct position.
Using the supplied drilling adapters significantly simplifies the installation process and helps maintain the correct geometry of the mounting points.
Modifying the Original Mirror
The original mirror housing and mirror glass must first be removed.
Selected sections of the original aluminium mirror arm need to be cut away to provide sufficient clearance for the new housing. Mounting holes also need to be drilled in the aluminium arm.
The supplied drilling adapters should be used to accurately position the required mounting holes.
Because the arm is made from aluminium, both cutting and drilling can be performed relatively easily using standard workshop tools.
The modifications should be performed carefully and progressively, checking the position of the new housing during the process.
Mounting the New Housing
The housing is secured using a total of 5 × M3 screws.
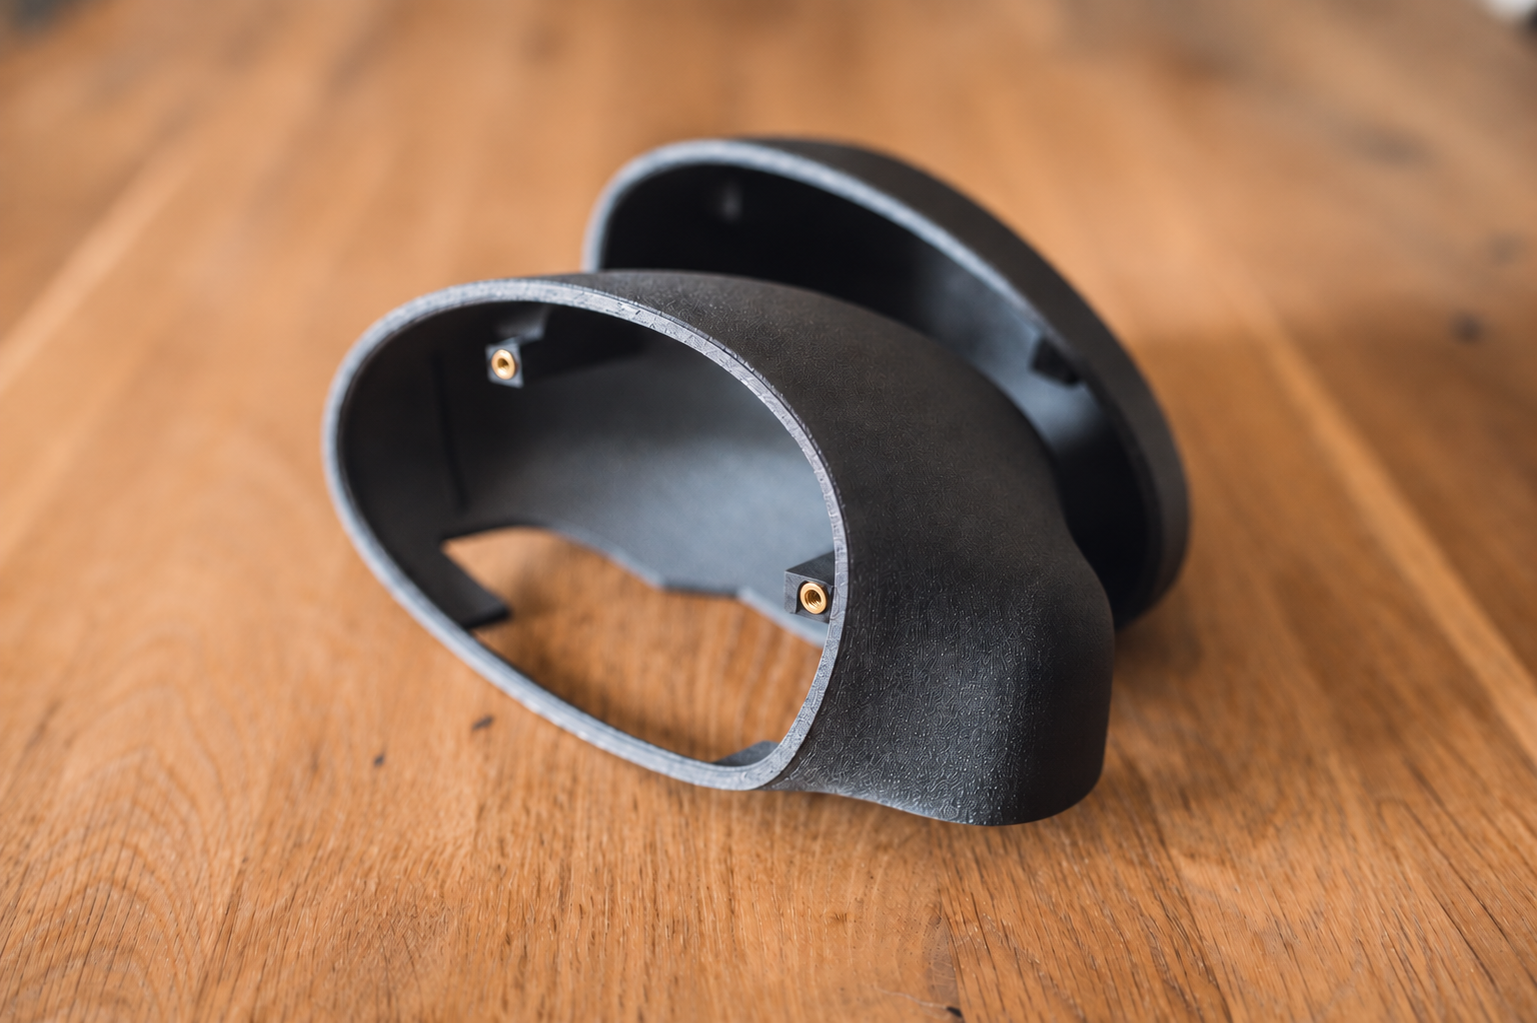
Main housing – 3 × M3 × 6 mm
The main mirror housing is secured with three M3 × 6 mm screws.
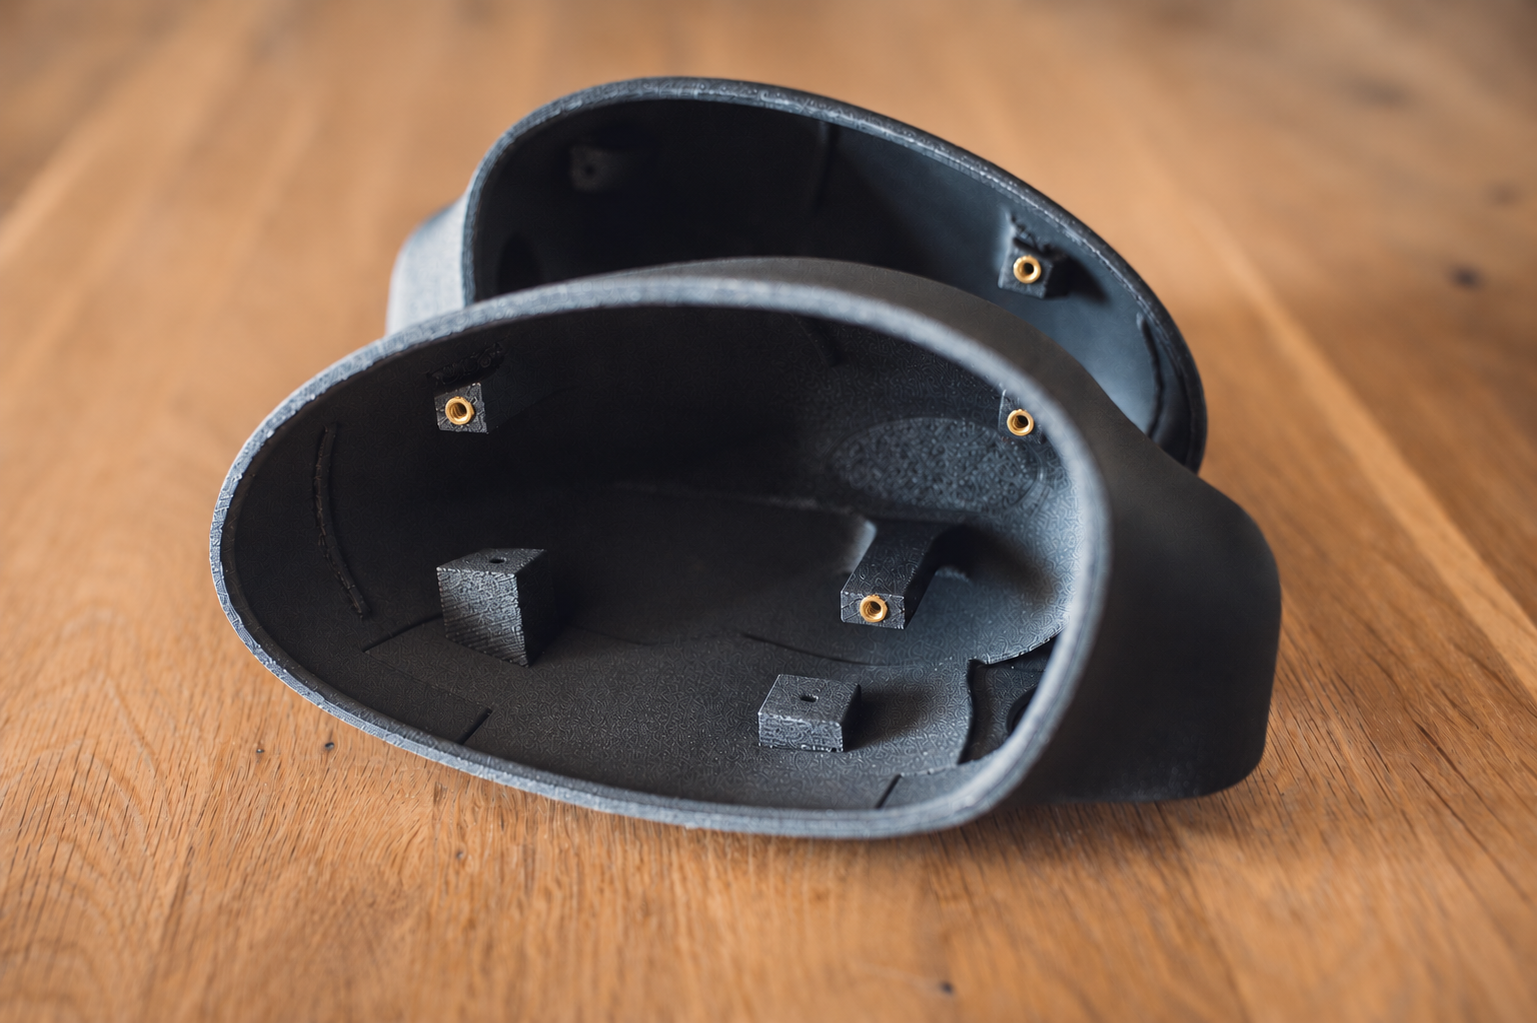
These screws are installed longitudinally and screw into brass threaded inserts integrated into the 3D-printed housing.
The brass inserts provide a durable threaded connection and allow the housing to be repeatedly installed and removed without damaging the printed material.
Two of the mounting points use washers under the screw heads.
Lower cover – 2 × M3 × 8 mm
The lower section of the housing is secured separately using two M3 × 8 mm screws.
These screws are installed vertically from underneath the mirror.
The aluminium mirror arm must first be drilled using the supplied drilling adapters to create the required mounting holes. The screws pass through the lower mounting section and the modified mirror arm and are secured using washers and M3 nuts.
A small amount of medium-strength thread-locking compound is recommended on the mounting screws to prevent them from loosening due to vibration and repeated movement of the mirror.
Adjustment of the Housing
The installation is designed to be relatively simple, but a small adjustment of the housing position relative to the original mirror arm may be required.
This is possible thanks to the slightly oversized mounting holes, which allow the housing to be positioned precisely before the screws are fully tightened.
This adjustment is particularly important because there is only a small clearance between the mirror glass and the surrounding housing.
The final position should therefore be checked carefully to ensure that:
- the mirror glass does not contact the housing,
- the mirror can be adjusted through its complete range,
- the housing is correctly aligned with the mirror mechanism,
- the folding mechanism operates correctly.
Take your time during the final positioning. A small adjustment of the housing can make a significant difference to the clearance around the mirror glass.
Installation Without Removing the Mirror from the Car
It is possible to perform the complete installation without removing the mirror assembly from the vehicle.
However, if the work is carried out directly on the car, the surrounding bodywork and windows must be properly protected.
Cutting and drilling the aluminium mirror arm produces metal chips and filings, which can scratch the paint or glass.
The surrounding:
- bodywork,
- windows,
- door,
- paintwork,
- and other exposed surfaces
should therefore be thoroughly covered and protected before any cutting or drilling is performed.
For convenience and easier access, removing the complete mirror assembly from the vehicle may still be preferable, but it is not strictly necessary.
Installation Video
The complete installation process is demonstrated step-by-step in a YouTube installation video.
The video shows the required modifications to the original mirror arm, how to use the supplied drilling adapters, how to drill the mounting holes, how to install the housing and how to perform the final positioning and adjustment.
The video is intended to be used together with this written description and provides a practical visual reference for the entire installation process.
YouTube installation video:
HOUSING INSTALLATION
Installation Time
The estimated installation time for one fully painted housing is approximately 2 hours per side.
This includes removal of the original housing and glass, modification of the aluminium mirror arm, drilling using the supplied drilling adapters, fitting the new housing, positioning and final adjustment.
The actual time may vary depending on the tools used, experience of the installer and the amount of adjustment required.
The approximately 2-hour installation time refers to the installation of an already finished and painted housing. Surface preparation and painting are not included.
Full Mirror Functionality
After installation, the mirror retains the full functionality of the original E46 mirror system.
Depending on the vehicle’s original equipment, this includes:
- Electric mirror adjustment
- Heated mirror glass
- Mirror folding
- Full range of mirror adjustment
The adapter does not require the original mirror mechanism to be replaced. The goal is to retain the factory functionality while changing the external appearance of the mirror.
Important Installation Notes
This product is supplied as a raw FDM-printed component and requires finishing before installation if a painted appearance is desired.
The customer is responsible for:
- surface preparation,
- painting,
- modification of the original aluminium mirror arm,
- drilling the required mounting holes,
- and final installation and adjustment.
The supplied drilling adapters are intended to make the drilling process easier and help ensure correct positioning of the mounting holes.
Care should be taken when modifying the original mirror arm. Always check the position of the housing before making the final cuts and drilling the final mounting holes.
Because the clearance between the mirror glass and housing is relatively small, precise positioning of the housing is important.
Use of a suitable thread-locking compound on the mounting screws is recommended.
Tested Installation
The housings have been successfully installed and tested on a 2002 BMW E46 Touring equipped with the original manually folding mirror mechanism.
The finished installation retained the original mirror functionality, including mirror adjustment and heating, while using the new custom mirror housings and compatible mirror glass.
What’s Included
Each set includes everything needed to prepare and install the mirror housings:
- 2 × main mirror housings – left and right
- 2 × lower housing covers
- Complete set of mounting screws, washers and nuts
- 2 × lower drilling adapters for accurately positioning the lower mounting holes
- 2 × drilling adapters for the main mirror housing mounting points
The housings are supplied raw and unpainted and require surface preparation and painting before final installation.
Optional Painting Stands
Optional left and right painting stands are also available as an additional paid accessory.
The mirror housings can be securely attached to these stands during the preparation process. They make sanding, priming and especially painting significantly easier by holding the housing in a stable position and allowing easier access to the entire surface.
The optional set includes:
- 1 × left-side painting stand
- 1 × right-side painting stand
The painting stands are not included in the standard kit and are available as an additional purchase.
Additional information
| Weight | N/A |
|---|---|
| Painting Stands | yes, no |